Why Shiseido and Dior Have the Best Foundation Brushes, How To Use and Clean Them Properly8/26/2014 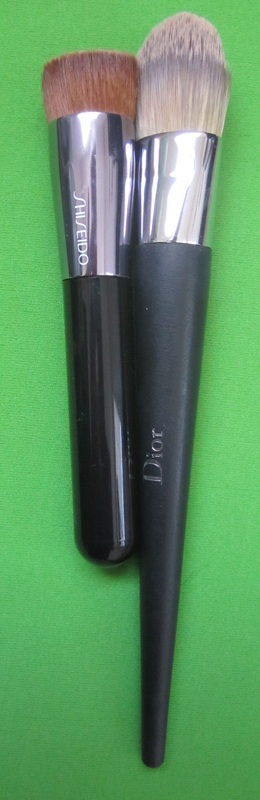
Awww..... Foundation brushes..... There are so many on the market. In my quest to find the perfect one, I found the perfect two. I was a total YouTube makeup blogger junkie before I landed myself a job in the world of cosmetics. I literally wanted to own every product they showed, including brushes. Brushes are so completely overlooked by so many. They make a HUGE difference how things will look, shade and blend. Good makeup brushes are not cheap (although I have found a few inexpensive gems), but a good foundation brush is a really great investment. If you treat it well, it will last a very long time. I always choose synthetic bristle brushes with a liquid foundation. I use to use the MAC 187 and 130 goat hair stippling brushes, but all of the hairs would fall out and stick all over my face. Liquid foundation will pull out the bristles in real hair brushes, because they are are not as strong as synthetic. Also, since you have to clean foundation brushes way more often than other brushes, real hair brushes fall apart so much quicker in this process (especially if the proper techniques are not used) than synthetic brushes. SHISEIDO PERFECT FOUNDATION BRUSH 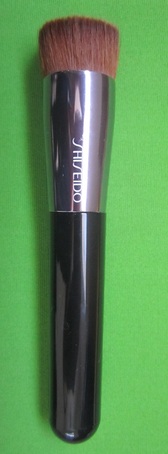
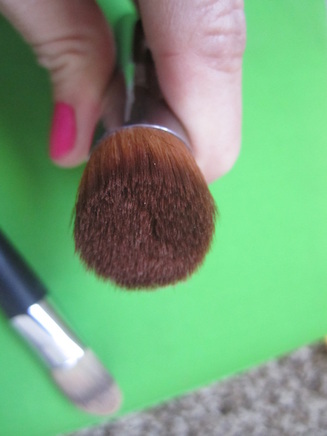
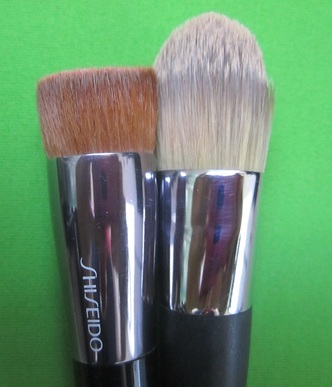
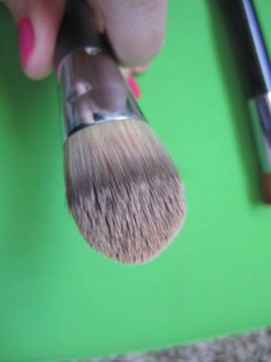
I have tried so many foundation brushes, and none of them seemed to stick out quite like the Shiseido Perfect Foundation Brush. This is my ultimate favorite brush. It's relatively cheap at $30, which is pretty inexpensive compared to other nice brushes that are $45+. Its sleek compact design is a big hit for most, especially to those traveling since the handle is only 4". The lack of length in the handle does not deter the precision that this brush can handle applying foundation. It was everyone's favorite brush to use in customers makeovers in my cosmetics department; we couldn't keep them in stock and we sold out of them many times over. After all, it did win Allure's prestigious BEST OF BEAUTY AWARD for BEST FOUNDATION BRUSH and InStyle Magazines winner in the foundation brush division. It has also won many other cosmetic awards and it is obvious why. The bristles are flat on the top with the perfect amount of density to give the most beautiful airbrush look you could possibly want. You can control the coverage with it although it is definitely my best full-coverage brush. If you want less coverage, than you can just spread the product over a further distance. You use less product with Shiseido's brush because it spreads so much further than what most brushes can do. The bristles angle down, so getting underneath the eyes and the hard-to-reach spots on the face are a breeze. 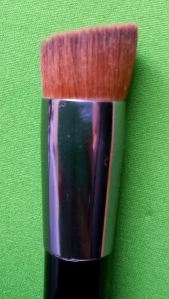
I sold one of these to almost everyone looking for foundation. I would demonstrate how using this brush is so much better than using your fingers, or a saddle brush (standard foundation brush) because getting a good blend with the fingers takes a lot of time and product and is not very hygenic, and using a saddle brush scoots the product around the face creating an uneven coverage, look and lines. I also demoed how much further your foundation can go with a brush. You can see my demo with a really crazy color to demo below: 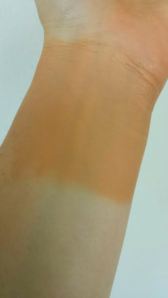
Blending with my fingers
Blending with Shiseido Foundation Brush
Dior has a similiar foundation brush that looks almost exactly like it with a longer tapered handle (Not the one in my post). When any brand loyal Dior fan would hold and feel both, 9 times out of 10 they would choose the Shiseido brush. There is something to the bristles that just works well. How to use the Shiseido Perfect Foundation Brush: Very Full Coverage: Dot your foundation around your face and use the brush in small circular motions to blend out Standard Full Coverage: Pump foundation directly onto bristles of brush and use in circular motions on face Medium Coverage: I like to pump a dime sized amount of foundation on my wrist, or the back of my hand and dunk the bristle ends of the brush very lightly in the foundation and blend out on face in larger circular motions DIOR BACKSTAGE FOUNDATION BRUSH 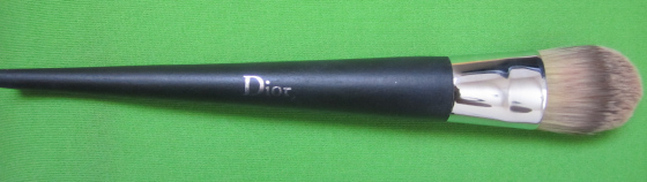
My second favorite is the Dior Backstage Foundation Brush. It looks like standard foundation brush from the photo, but it's not entirely flat as it appears, it has a full amount of bristles that are longer. 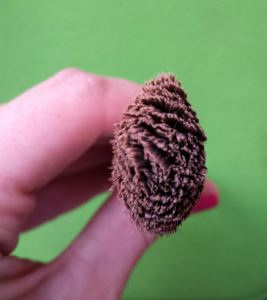
This brush is perfect for light to medium coverage foundations. I mainly use this brush in the summer when I want a lighter coverage and finish. Instead of circular motions like the Shiseido brush, you use short sweeping motions (like a paint brush) for your foundation. It has a long tapered handle with synthetic bristles. The bristles are so soft and start out with the longest bristles in the center and taper down the sides for the perfect finish. It is a little pricier at $45, but definitely worth it. 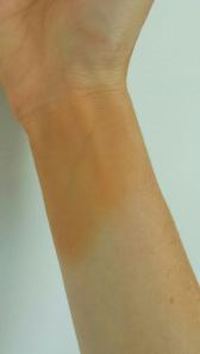
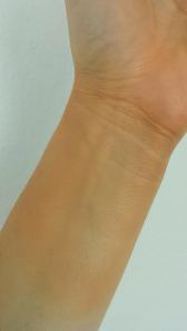
Blended with fingers
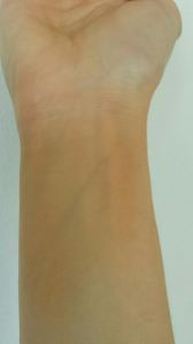
Blended with Dior Foundation Brush
How To Use the Dior Backstage Foundation Brush: Light to Medium Coverage: I like to pump foundation out on the back of my hand or wrist and dip the end of the bristles in the foundation and sweep onto my face like a paint brush up and down and side to side. I will stick one layer on for light coverage. If I want more coverage, I will put another layer on top of the first layer. How to clean foundation brushes: The best way to clean this brush is to buy a brush cleaning solution to soak it in. My favorite is MAC's Brush Cleanser because it removes extra makeup and residue, disinfects and conditions the brush. I take a paper cup and pour a small amount in the bottom, and put the brush bristles down to soak for a bit to dissolve the foundation (since foundation can stick itself pretty good in the dense fibers), and after an hour or so, I will put a small amount of baby shampoo, regular shampoo, or even my Bath & Body Works Antibacterial Soap in my hand and swirl the bristles around for a little bit to get all nice and soapy. I rinse it by letting the water drain over my hand while I am still swirling. I might repeat if it is really dirty. TIP: There is usually a metal ring on the handle of your brush by the bristles, NEVER get the the top of the ring (where it attaches to the handle) wet!!! That is where your bristles are glued to the brush, and getting it wet will dissolve the glue over time, and the brush will fall apart. I like to shake the brush out to get the water out and lay it on a towel or a flat surface with the bristles hanging over the edge to properly dry. Once dry, you can reshape the bristles by running over your hand a few times. Where To Buy: Shiseido Perfect Foundation Brush $30 + Free Shipping Dior Backstage Foundation Brush $45 + Free ShippingMAC Brush Cleanser $15 + Free Shipping ***I am not endorsed and do not get paid by any brand or any affiliates, the opinions expressed are my own***
2 Comments
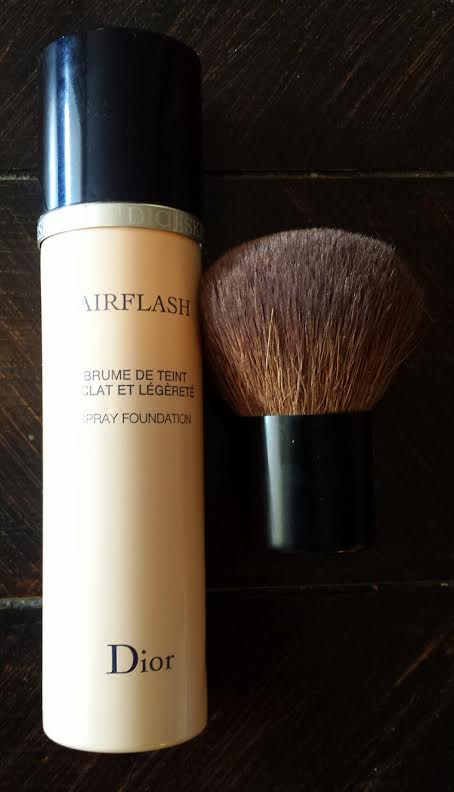 What a crazy concept?!? Foundation in a spray can. Is it worth the $62 for a can of this unconventional foundation? Too many of my customers avoided this since it was a new and scary form of foundation (I worked in cosmetics at Nordstrom for a year). Dior Airflash is a spray can medium-full foundation with a fine spray nozzle that shoots out a fine spray of foundation. The concept is just the same as a can of spray paint. You have to shake it first to emulsify the ingredients so they will come out even. It even sounds just like a can of spray paint when it's shaken due to the metal balls inside that helps to mix it all together. You can either spray it directly on your face, or use a brush. I don't know who you are out there that is talented enough to spray it directly on your face. A fellow co-worker of mine didn't know how to apply this to a customer that asked her and she just started spraying. Afterwards, the customer took the next 10-15 minutes taking the foundation out of her ears, eyebrows, nose, eyelashes, eyes, etc..... A large rounded kabuki brush is the best way to apply this in my own experience trying it out in several different ways with different brushes. My favorite brush to use is the brush pictured with the Airflash. It is the Chanel Touch-Up Brush and it applies it evenly and beautifully. You also use a lot less product with a brush. 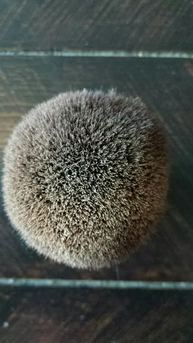 The best way that I have found to use this is to shake the can a few times before each spray. I will hold my brush out about a foot away from me and spray the can in even thin stripes side-to-side (just like spray paint) across the brush about an inch away from the brush head (this helps not waste product). I do a really thin layer so I can ensure an even finish. Repeat as necessary. If you need more coverage then you can add another layer on top of your first finished layer on your face. I use circular motions and blend out as far as you need all over your face. It's actually a very very quick and simple foundation to use. You get a very even airbrushed look every time. Using this product everyday will last you a good 3 months of use or so. I have had mine for a few years since I only use it for special occasions. Dior Airflash foundation is so great for pictures! It is pretty water-resistant and does well in warm or humid situations. Many brides-to-be would come in and purchase this for their bridals and wedding because you truly get a beautiful skin finish for pictures or special occasions. A lot of TV News Anchors actually use this for a perfect complexion on camera. I touched up several News Anchors that would come in requesting one before they went on air. 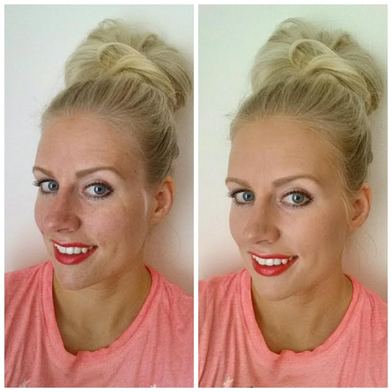 Before and After Airflash BUT...... There are always downsides to wonderful products.........I applied this foundation to many customers, and a bit of prep depending on the problem needs to be addressed before this foundation is applied:
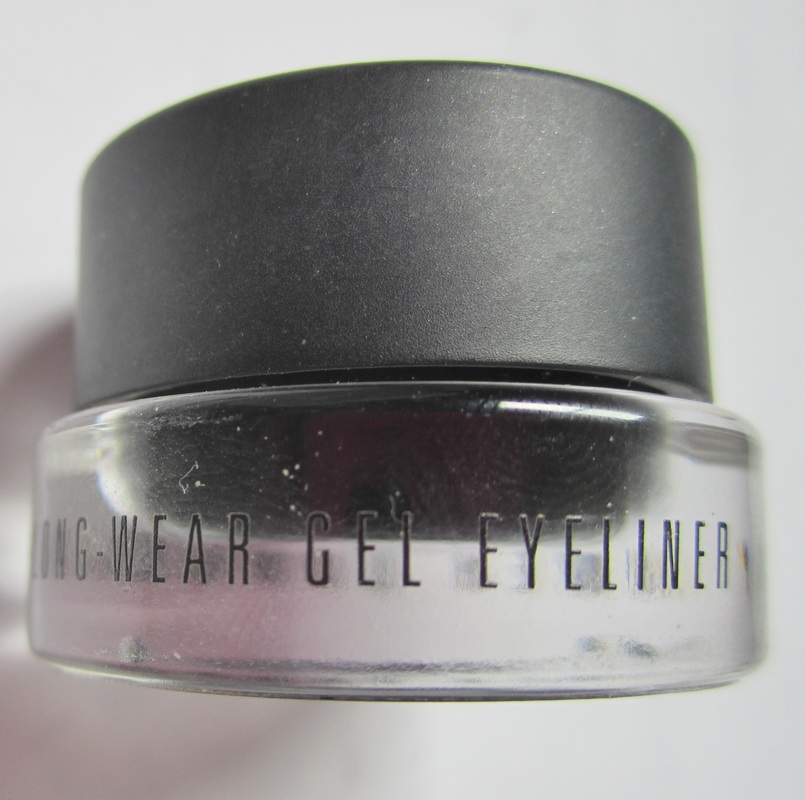
The color guide can also be confusing, so I will shed some light on that;The shades go from light to dark. 10 is the lightest and 60 is the darkest. Any color ending in a "0" means it is neutral (pink and yellow tones), colors ending in a "1" means yellow tones (warm), and colors ending in a "2" means pink shades (cool).I am currently wearing shade 300 since I have a little bit more color from my self-tanner. All-in-all this foundation is perfect for hiding my sunspots, freckles and redness. I love the way I look wearing it and it is the quickest way to apply foundation. It is a must-have for pictures or just to have even perfect looking skin. ***I purchased this product myself. I am not endorsed, nor do I get paid by Dior or affiliates. The opinions expressed are my own experience with the product*** 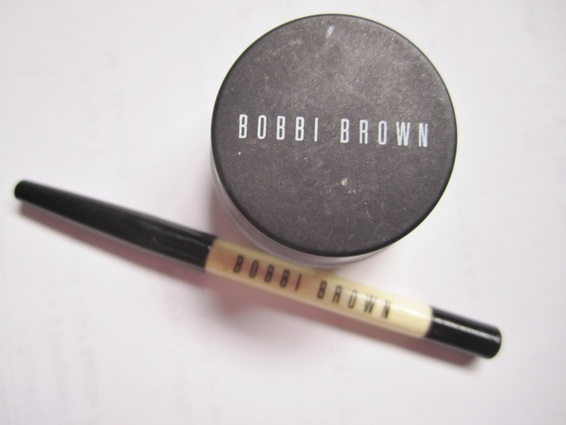 This gel eyeliner won Allure Magazine's "Best of Beauty" award for best gel/cream eyeliner in 2012. I am always hearing how fantastic this eyeliner was, but it intimidated me because of the uncertainty of using a tiny little brush to apply rather than a pencil. I let it sit for a very long time in the bottom of my makeup case, and it never got used until recently. I believe the little brush is sold separately. I purchased a Bobbi set with a lot of items like eyeshadow palettes, eyeliner, lip and cheek stain, lip color palettes, etc......
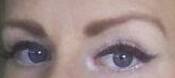
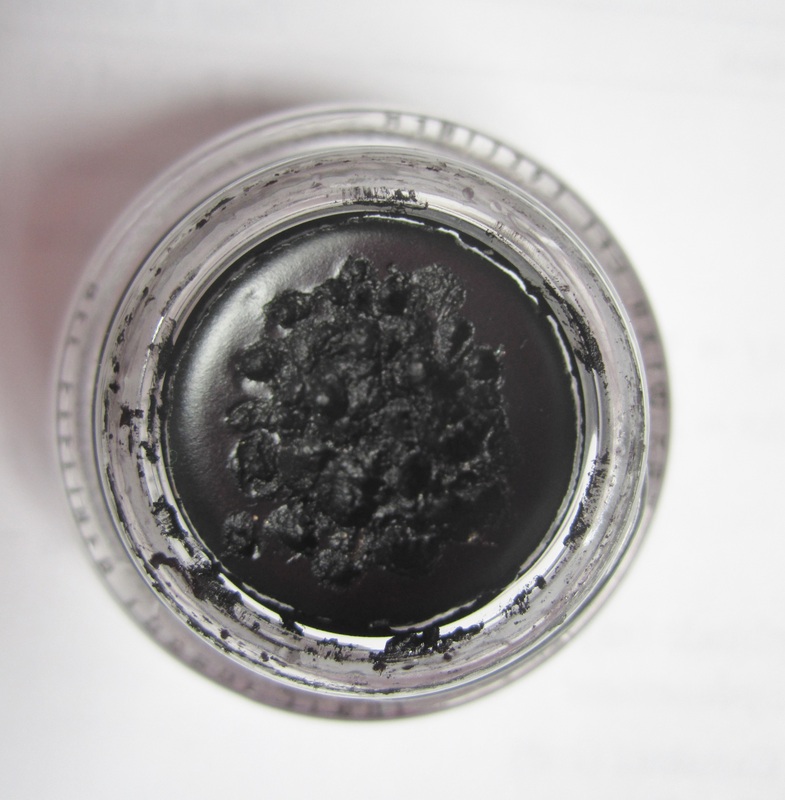
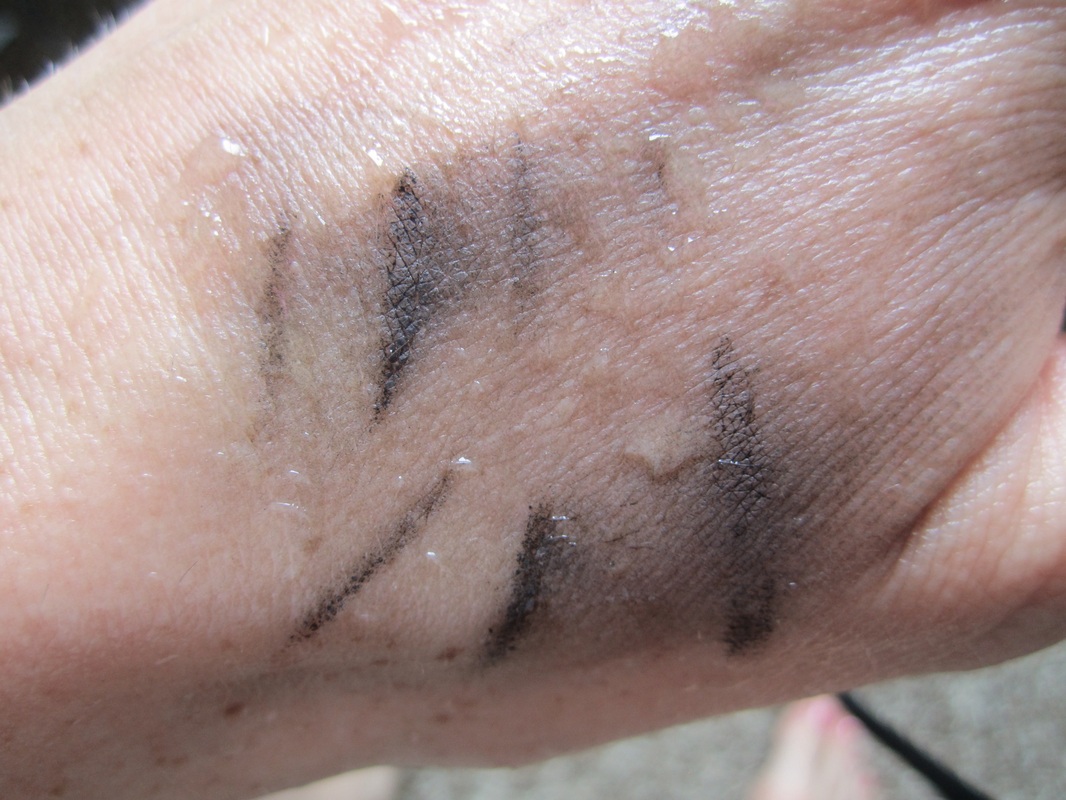
The gel comes in a little glass jar. I really like the packaging. It's very sleek. It has a twist top lid to reveal the gel inside. As you can see in the picture, I have used it several times so that I could get a really good opinion on it. The formula is not too wet, or dry. It is the perfect spreading consistency. The color I have is a true jet black. It actually comes in many different colors. I like to use it with a more dramatic eye because it has a sharper look that can also be smudged up a little bit if you want. I never smudge it, because it would prove to be too messy, and since this is long-wear, if you mess up you will have to use some eye makeup remover to remove it and start over again. They are not lying about it being "long-lasting". 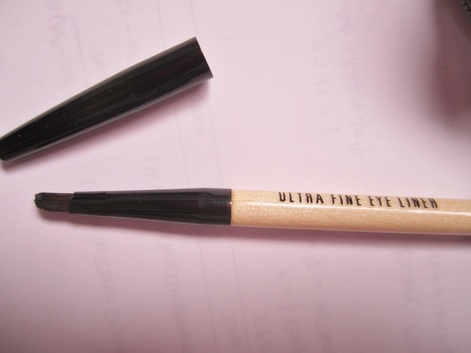 I apply it with the Bobbi Brown Ultra Fine Eye Liner Brush #7497. I really like how small this brush is and it applies it just great until the end gets packed with gel, and it sticks and clumps. I would recommend washing this little brush every few times you use it so that the gel does not make a conglomerate mess out of the end.. I barely stick the end of the brush into the gel. I don't move the brush side to side, I literally just stick it in and out, and there is plenty of formula on the brush. I always start in the middle of my eyelid, and go to the inner corner of my eye. I don't want too much in the inner corner, and if I mess up in the middle, I can just make the liner bigger. I start in the middle as well to go to the outer corner of my eye, and make a wing. This stuff gives drama to your eye, and the wing is dramatic as well. I do NOT recommend using this on your waterline. I decided to try it one day, and the gel just ends up clumping together after a few hours, and traveling into the inner corner of your eye. When you try to wipe the little gel clump, it just smears, and this stuff is hard to get off! I would only recommend it for the eyelid. All-in-all this is a really great product and I would recommend it to anyone!
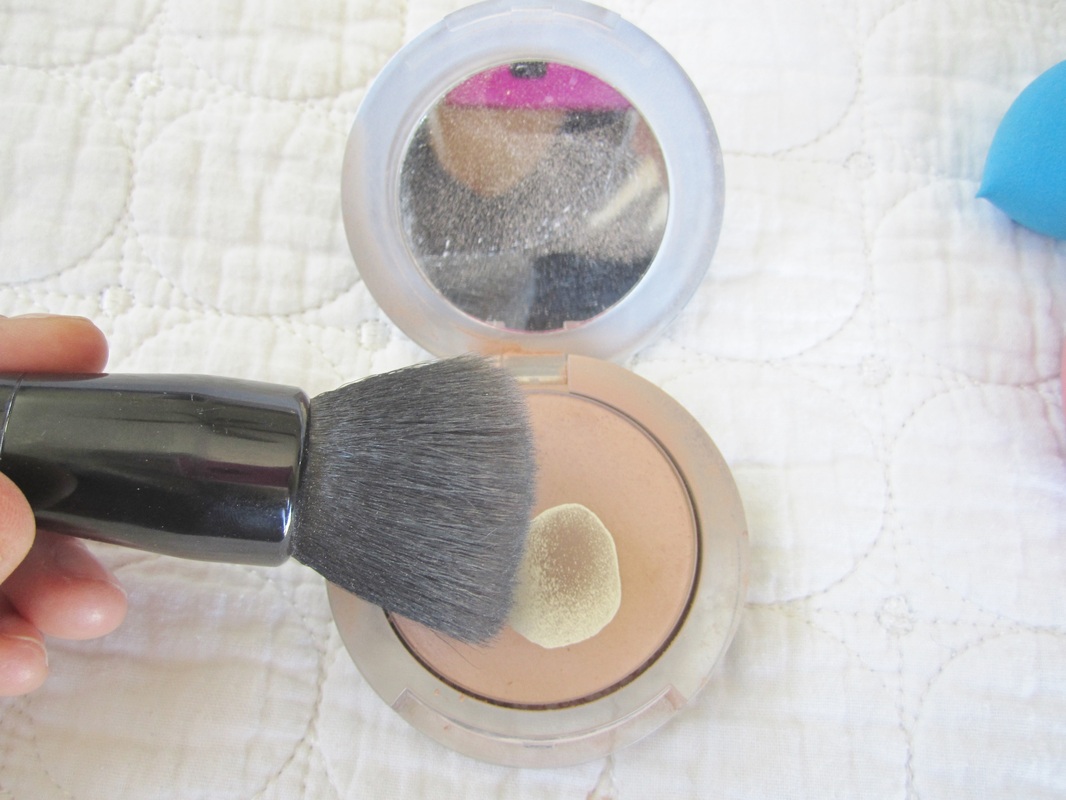
  It's called "Barbados in a box" and it's just that. This is my everyday bronzer, and when I try to use something else, I just don't like it as much as this one. The packaging is very different. It's in a neat little box. It's actually the only thing that bugs me about it because the bronzer is located pretty far down in the box, so there is not a lot of room for your brush to move around, but I make it work just fine. The original brush that is included in the bronzer is a flat contour brush that gets into the hollow of your cheek great, but it sheds a lot, so I quit using it. The color may look too dark for fair skin, but it is actually a very buildable bronzer. I think the color is gorgeous on just about anyone. It is incredible on slightly tan to really tan skin. I would advise if you are really fair, to use just enough to see slightly, but too much will make fair skin look muddy. 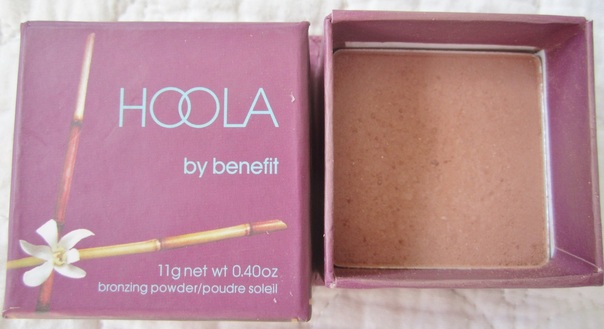 I mainly use this bronzer to contour my cheekbones. I use a little bit to bronze my forehead, chin, nose and jawline.
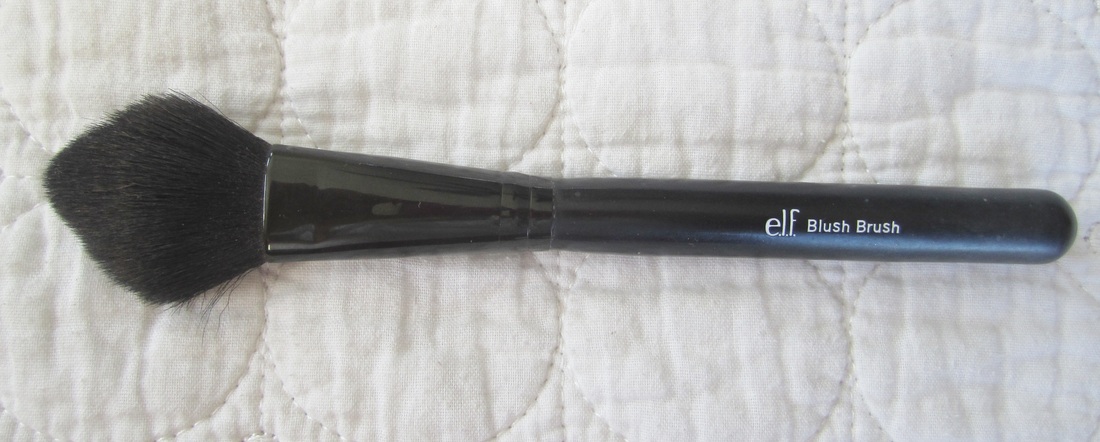 The brush I use is my e.l.f. Blush Brush. I like to have an angle in my brush, and the tip gets right into the hollow of my cheek. 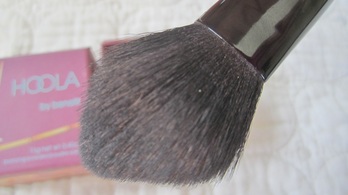 In the hollow of my cheek, I will do a straight pass, than go over it with very small circles so it blends in. I do the bronzer first before I put blush on the top of my cheek. If you want your face to lose a few pounds, this is definitely the way to do it!
You can purchase the Hoola by Benefit bronzer for $28 HERE You can purchase the e.l.f. blush brush for a couple of bucks at Target or anywhere where e.l.f is sold *** I am not affiliated in any way with other people mentioned or products
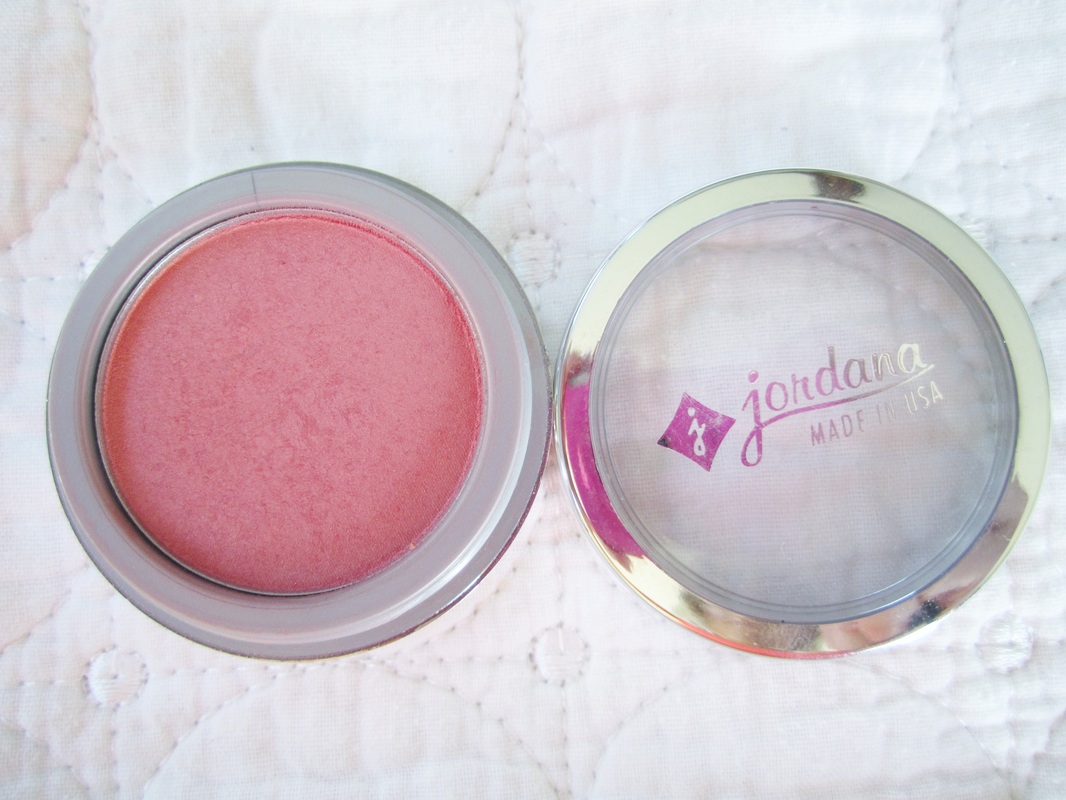
mentioned. This is my own personal opinion on this purchased item and how I apply it*** 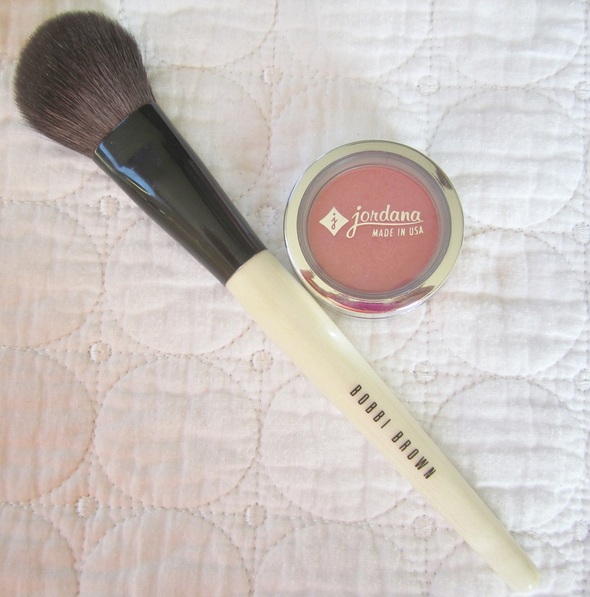 Sorry my posts are so spontaneous with the times I post them. I started a new job, in addition to my current job at Pottery Barn. I am now the Counter Brand Manager/Makeup Artist for Shiseido Cosmetics and Skincare at Nordstrom. I start my job shadow tomorrow, but I am in a lot of training, so I don't have a whole lot of time lately to post, but I try to almost every day. I am sure I will be featuring some Shiseido, along with some other new brands pretty soon. Ok... back to my current blush and blush brush: My current blush I am using just about everyday is this Jordana Coral Sandy Beach 38 Blush Powder. I do own NARS Super Orgasm, but it has some serious gold flaking that is better for a night look. This Jordana powder is the perfect shade of coral for any skin type! Literally! You can layer it on as dark or light as you want. It gives the perfect shade for looking healthy and fresh. The downside to this blush is the short life it has. The color is so pretty, but you have to layer on more than you think you want for it to last longer since it fades throughout the day (even with a primer and foundation). It is extremely inexpensive at $2.49 HERE Moving on to my current blush brush: 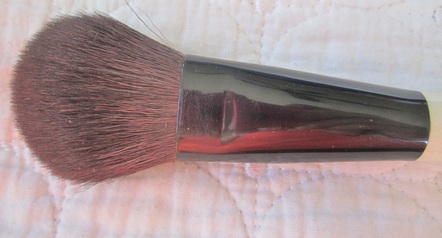 The Bobbi Brown Blush Brush..... this brush is fantastic! I don't regret buying it at all, but I am sure that a cheaper blush brush would do the trick as well. I like that the bristles on this brush are soft but compact so I have control where the blush is going. I am always spot on with my blush application because this brush blends the blush onto the cheeks so well. The brush is not too long or short. It's the perfect length for application, and it does not shed. It can also be used as a contour brush as well. I started to use it as such, but I like to use a smaller brush to get right into the hollow of my face. It is a good quality brush but a little expensive at $50 HERE 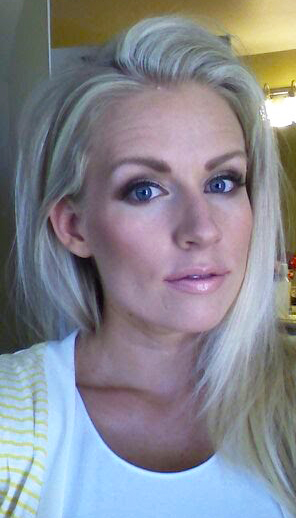 Used my Jordana blush for this picture *** I am not affiliated in any way with other people mentioned or products
mentioned. This is my own personal opinion on this purchased item*** Besides getting a long-lasting foundation, there are a few things you can do to keep your foundation lasting longer than it usually would. I do this in a two-step process. 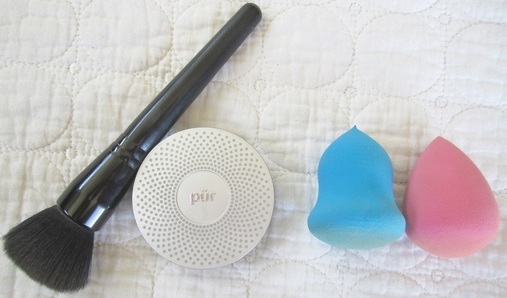 STEP 1: The first thing to use after you have applied your foundation and concealers is a finishing powder. This can be just a regular face powder; other names for this is setting powder and finishing powder, or translucent powder. I typically stay away from a translucent powder, because although it says it is translucent, the powder is a chalky white color which washes me out, and settles into my pores in the oily part of my combination skin, and it looks like I have some horrible spotted skin prolem. I am constantly checking my skin so that I can rub the powder back in when it starts settling. That does not make for a fun day. The foundation I typically use (Make-Up Forever in shade N120) is a bit lighter than the rest of my body, so I typically choose a powder that is slightly tan to use as my finishing powder.
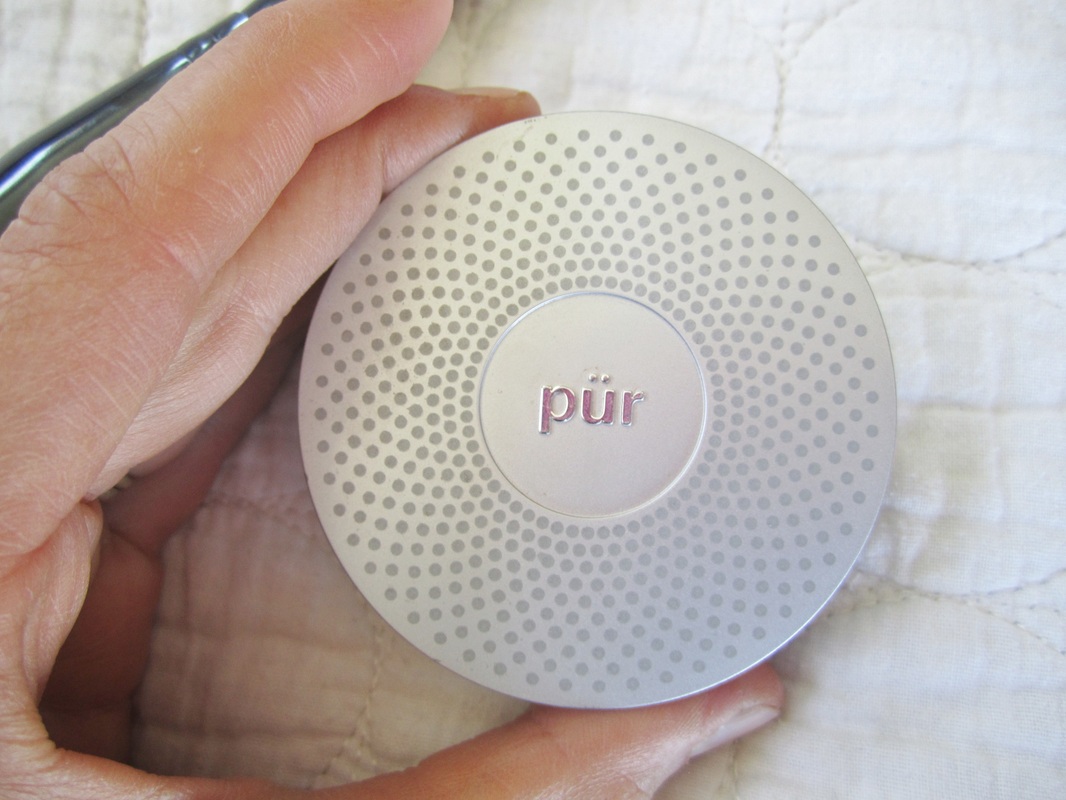
I use a colored mineral powder foundation (Pür Minerals 4-in-1 Pressed Powder in Blush Medium), but I apply very little, just enough to cover my face. I apply very sparingly under my eyes so that the powder does not get cakey and showcase my under-eye wrinkles. I apply my whole face using the E.L.F. Powder Brush using large circular motions. What this does, is stick to your concealer and foundation and seal it all in. Like I have said before, I have combination skin, so I have really dry areas of my face that gets a bit powdery, and other parts of my face is slightly oily and absorbs the powder. What I am trying to achieve is even looking skin with no cakey powdery spots. Here is where the next step perfects everything..... STEP 2: I have two small beauty blending sponges. I am showing both, but I alternate each day between them for cleaning purposes. One is not better than the other. They both work the exact same. 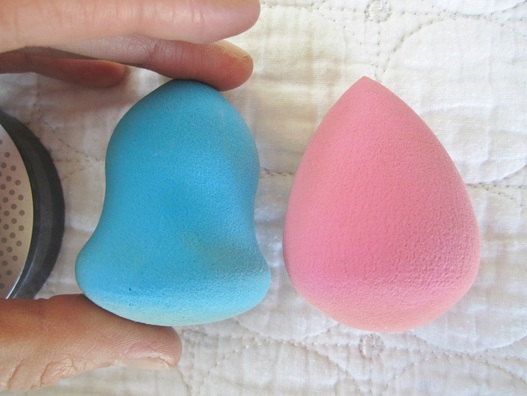 The blue one is a bell shaped brush that has a flat end on one side, and a pointed end at the other with a small indent around the middle. The pink one is a teardrop shape sponge. They are essentially the same thing as the Beauty Blender® just with a different name, and a oodles cheaper. This is the last step for foundation application. This step is the perfecting portion, and the beauty sponge helps prolong your foundation even further. You wet the sponge, and slightly squeeze the excess water out, until it is pretty damp still, and use the sponge to dab and roll all over my face. I like to dab around my eyes (with the pointed end), in-between my eyebrows and underneath my jaw line (with the large end), but I will roll it on it's side everywhere else on my face. The sponge adds a little bit of moisture, melting the powder and foundation together for a really even application, and takes away that powdery look from the finishing powder. I apply my bronzer, blush and highlighter after (Just my preference), but you can apply all of that before you use the sponge. You can even use this little sponge to apply your foundation directly to your face. You can dab it on with the large end and blend it, or you can dab it on, and use a stippling brush (MAC 130) to blend it in. Cleaning it is easy. Just use a little bit of antibacterial soap and squeeze it in the sponge, and run it under water continually squeezing until the water runs clear and lay on a terry towel to air dry. 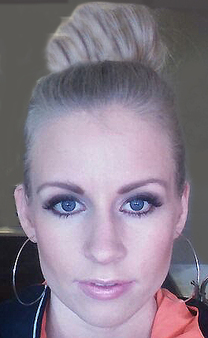 Flawless finish after using the finishing powder and beauty sponge Items Shown: E.L.F. Powder Brush $3. You can purchase this at Walgreens, Target, KMart, etc.... Pür Minerals 4-in-1 Powder $27 Free Shipping. Purchase HERE Winstonia Beauty Sponge in blue $6.25 Free Shipping. Purchase HERE *** I am not affiliated in any way with other people mentioned or products
mentioned. This is my own personal review on this purchased item*** DON'T FORGET TO ENTER THE MILANI EYE LINER SET GIVEAWAY!!! HOW TO ENTER: Click on the link HERE, and like my Facebook page . Write MILANI GIVEAWAY under the comment section of the giveaway post in my feed Entries are open until June 4. Winner will be selected and announced on June 5, 2013! 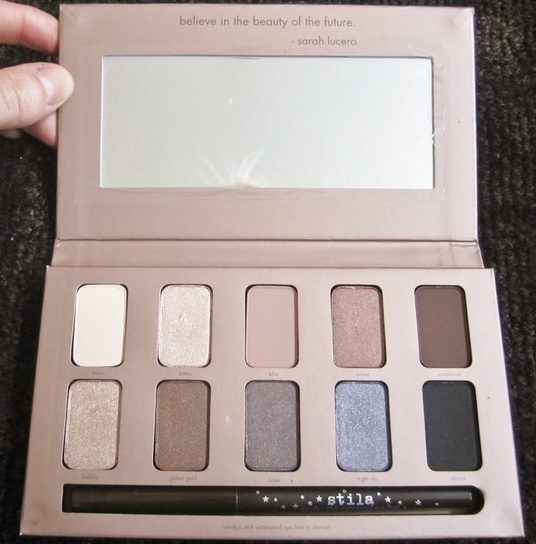 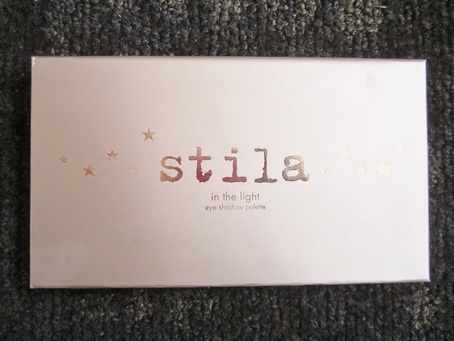 I am so in love with this pallet I had to write about it. This is the Stila In the Light Pallet. I had never owned anything Stila, and I have heard really good things about it, so when I was at Ulta, I decided to pick one up. I know when an eye shadow is a good one, because when I put it on my finger, I can see how pigmented it is. Stila is definitely on my radar for one of the best in eye shadows. I am usually skeptical of eye shadow pallets, because I feel when they put more product into something like a pallet, or a set, the quality is usually not as good, but this one definitely takes the cake I own several Urban Decay eye shadow pallets (which are known to be really good) and it still did not have the same quality. I even like the quality better than MAC, Nars and Smashbox. The eyeshadows are so creamy and smooth when applied. They are also so blendable, and the colors are pretty neutral, but still contain a few colors to create a smokey eye look 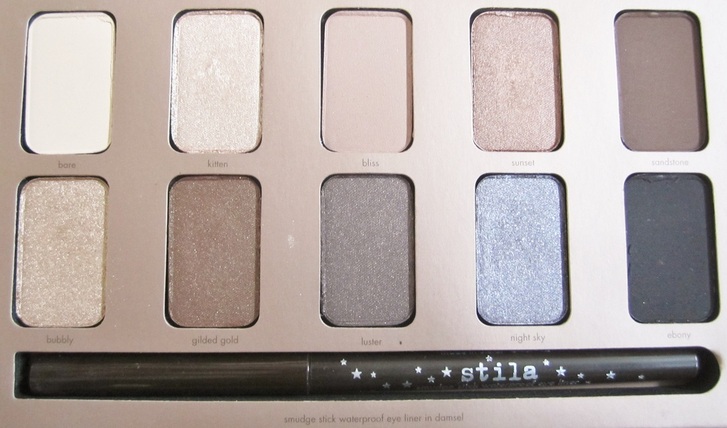 Top Left to Right: Bare, Kitten, Bliss, Sunset, Sandstone Bottom Left to Right: Bubbly, Gilded Gold, Luster, Night Sky, Ebony 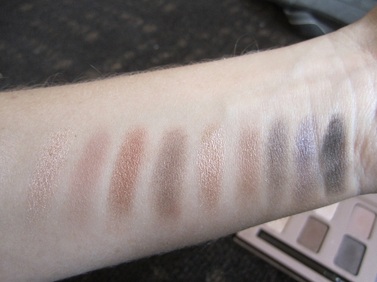 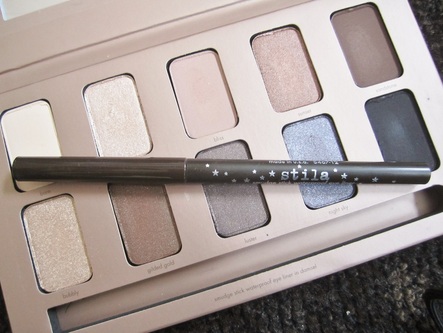 Another great part about this pallet is that it comes with a full-sized Smudge Stick Waterproof Eyeliner in Damsel (Dark Brown). I did the swatch this morning on my arm, I have since tried to rub it off with my finger, went on a strenuous bike ride, and did an hour of Zumba, and it still did not sweat off or budge! The eye liner is very creamy and glides on very smooth! Definitely the same quality as the Urban Decay 24/7 liner. 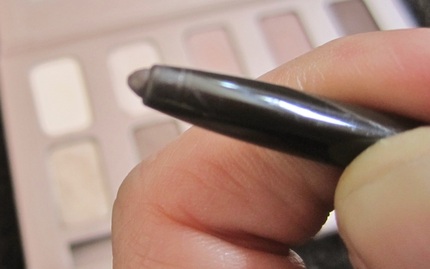 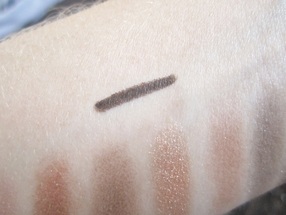 I definitely give this pallet an A+ for quality, blendability, texture, etc..... You can purchase the Stila In the Light pallet HERE for $39.00 and free shipping with online checkout code 100751 *** I am not affiliated in any way with other people mentioned or products mentioned. This is my own personal review on this purchased item*** DON'T FORGET TO ENTER THE MILANI EYE LINER SET GIVEAWAY
HOW TO ENTER: Click on the "Like Me On Facebook" above my picture on the top right side of this page, or click on the Facebook icon on the top right corner of this page, LIKE my Facebook page, and type MILANI GIVEAWAY under the comment section of this post on my KarleeCouture Facebook. Entries are open until June 4. Winner will be selected and announced on June 5, 2013! 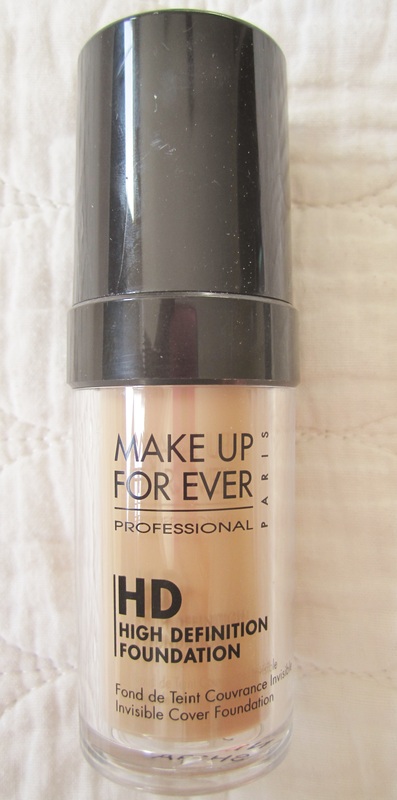 Make Up Forever HD Foundation in N120 1.01 oz This is the best foundation I have ever used hands down!!! I have owned MAC, Covergirl, Pur Minerals, Maybelline, Revlon foundations, and I have heard so many good things about the Make Up Forever HD foundation. It's a fairly new brand to the market, but there has been so much hype about this foundation and other products in the brand as well. I didn't want to try it because it is a little bit pricey, but I was not happy with my current MAC Mineralize foundation that was not supposed to clog pores, but every time I wore it, a new zit would appear. The MAC foundation was a little dewy, which is not my favorite look. Completely matte is not my favorite look either. Somewhere in the middle is what I prefer. I decided to give the Make Up Forever foundation a go. I usually wear the shade NC20 in MAC, and N120 is the equivalent to that shade. Fair-skinned color with slight yellow undertones. The formula is not as thick as some other formulas, but that helps to create a smooth coverage. A little bit goes a long way, and you can build the coverage as much as you would like. If you don't like full coverage, you can just smooth on a little, or you can smooth on a lot for full coverage. It creates such a flawless look that is amazing! My current foundation routine: I always put a primer on my skin before I apply foundation, than I pump about 4 full pumps on the back of my hand and use a MAC 130 stippling brush to dip in the foundation and do small circles on my face starting underneath my eyes and working around my face clockwise. * For a full-coverage look, I will pump 4 or 5 full pumps on the back of my hand and use my finger to dot the foundation spaced very close together in an area of my face and than work the brush in * I always work it into my neck and a little on my chest, because I don't have an evenly colored chest. Once the foundation is applied I will put a concealer on under my eyes and other problem areas. From there I will put a finishing powder on for staying power. My husband always mentions how pretty my skin looks with this foundation. It is an in-between to a matte and dewy look, and I would highly recommend it to anyone! Make Up Forever has a start-up kit that comes with the foundation. a really nice brush (really good reviews on it, I don't have it yet), finishing powder and primer all-in-one which is really the best deal! I wanted to try the foundation first to see if I liked it before I got the kit, but next time, I am getting the kit for sure! 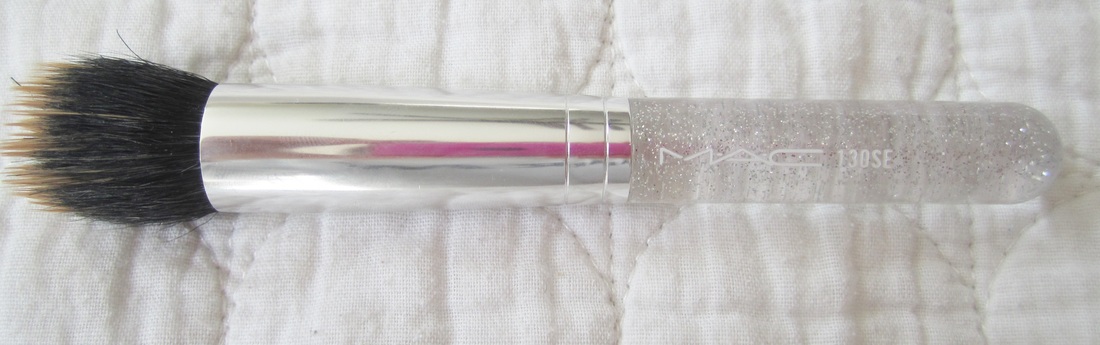 MAC 130SE Brush. This was from a holiday collection, but you can get the regular 130 brush still. 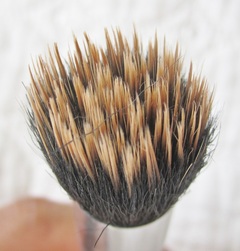 My Rating on Make Up Forever HD Foundation: A+ My Rating on MAC 130 brush: A- (It tends to shed a bit) You can purchase the foundation HERE for $42.00 OR the start up kit with primer, foundation, brush, finishing powder (BEST DEAL) for $79 with free shipping HERE (Normally a $115 value) You can purchase the MAC 130 brush HERE for $42 with free shipping *** I am not affiliated in any way with other people mentioned or products
mentioned. This is my own personal review on this purchased item*** 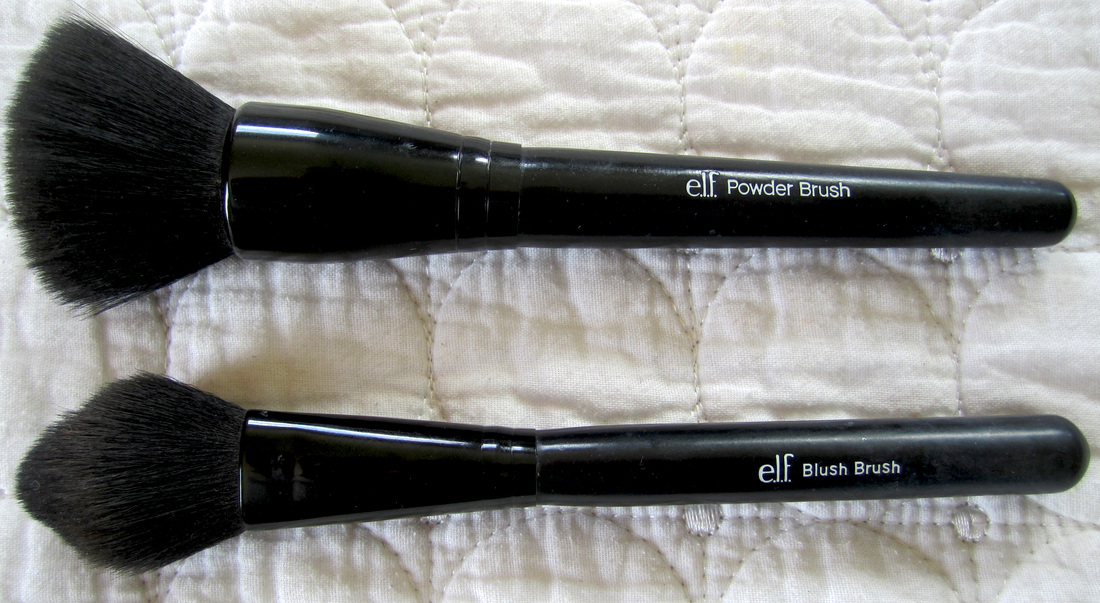 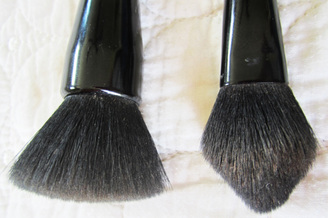 I had always heard pretty good things about these two brushes in particular. I was skeptical to try them, because I don't like E.L.F. products for the most part. I am pretty picky with my brushes as well. I purchased these brushes at Target. You can get them anywhere where drugstore makeup can be purchased. Each one of these brushes are just $3.00 each. Amongst my MAC, Bobbi Brown and Smashbox brushes, you will find these brushes in my everyday makeup collection. The powder brush has a kabuki style flat head with very thick and soft bristles. This brush gets down-to-business with powder. It picks up a ton of powder, so you don't have to keep going over the same area on your face over-and-over again. I have heard others using this as a liquid foundation brush as well. The blush brush is actually my contouring bronzer brush because it has a tapered end to be able to fit right in my cheekbone perfectly. It also has a really soft head, just like the powder brush. The downside to these brushes is that the handles threaten to come off because they are not glued in well, and after time, they loosen, but what else would you expect from a $3.00 brush? I would recommend these brushes to anyone on a budget or not, because they are good quality synthetic brushes. Rating: A for useability, and B- for the poor glued on handles Don't forget to like me on facebook!!! 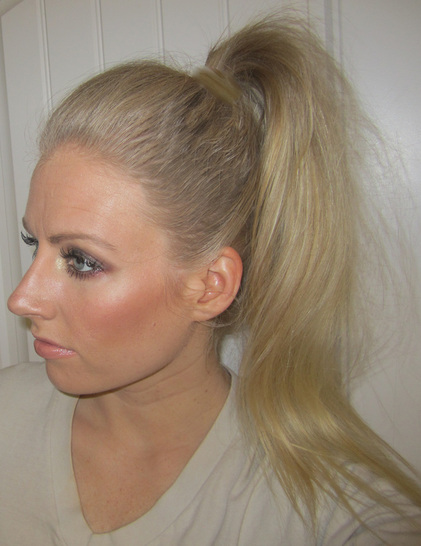 After using the powder brush, and contouring my face with the blush brush *** I am not affiliated in any way with other people mentioned or products
mentioned. This is my own personal review on this purchased item*** |
|


 RSS Feed
