 I am one of those people that sometimes are slow on the bandwagon. I kept hearing about how great the Tarte Shape Tape Concealer was, but it took me a really long time to actually purchase it.
It seems to be the only thing that doesn't tend to crease under my eyes, even without setting it with powder. I like the full-coverage/brightening aspect of it, so when the foundation came out, I decided to jump on it right away since I am always looking for another "Holy Grail" foundation. I know there is so much controversy surrounding the foundation because of the lack of colors situation, but I wanted to try it for myself. I used the shade Fair/Light Neutral. The applicator is a mega-sized doe foot just like the concealer. I put it on a completely clean bare face so nothing would change the factors of my review. I blended it out with an IT Cosmetics full-coverage foundation brush and it didn't provide enough coverage to cover some sun spots on my face. It was almost like a medium coverage. I put on another layer and it seemed to do the trick. It was a beautiful finish that was very flawless and matte. My skin looked like porcelain and I really liked the way it looked. I ended up going to an event for about 3-4 hours and came home, looked in the mirror, and gasped at what I saw! The foundation had broken down on my face horribly! It was patchy in sections and clinging to dry spots fiercely. It had settled in all my fine lines, wrinkles and pores. It literally made my pores look twice the size that they really are! The blush/bronzer I had on top of it was the only thing that stayed in tact and even that looked horrible! I usually give a foundation a few tries before deciding that I hate it, but it was so bad after only a couple of hours sitting in an event, that I don't even want to try it again. It will be going back to Tarte. I typically like Tarte products (especially Shape Tape Concealer) but this one will not be gracing my makeup drawer. Total fail for me!
0 Comments
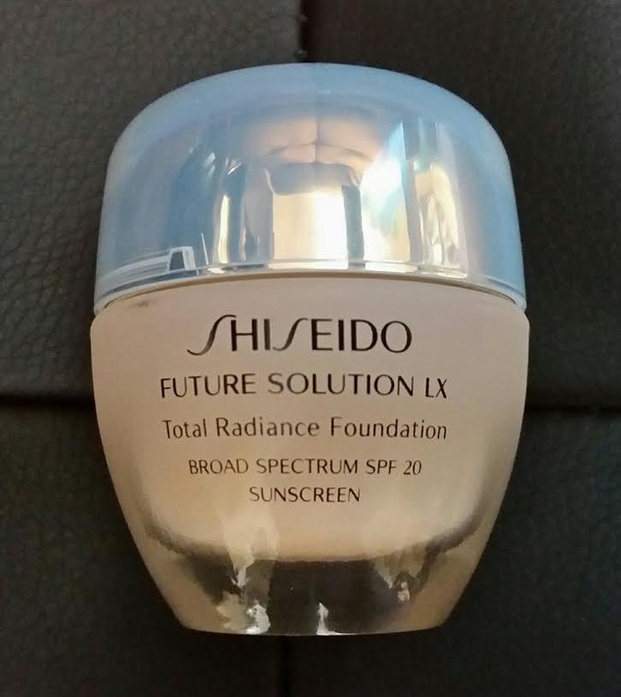 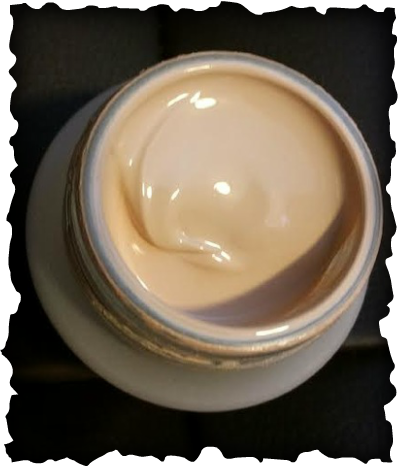 Foundations....... I get asked time and time again (since I am a makeup artist) which one is my favorite. That is an unfair question since one is not always appropriate for all skin. The Giorgio Armani Luminous Silk looks beautiful on other's skin, but on mine, it makes me look like I need to be revived because it's so ashy and dead looking. Since I have access to so many different foundations, I like to try them all. The consensus for me though, seems to be that the Shiseido Future Solution LX Total Radiance Foundation is the best overall. It performs consistently no matter if my face seems more dry, oily, or combination that day. When you work in the cosmetics world, you pretty much have people judge you for your makeup all of the time; especially co-workers. I got more compliments on my foundation the day I wore this foundation than I ever have. You know that it's a good one. I tend to like the fuller medium or the full coverage foundations to cover scars and imperfections, and this foundation is just that. It smooths over pores beautifully. I did wedding makeup with it, and the bride had a face full of cystic acne. I had to do a little bit of prep beforehand with some hydration and redness minimizing primer, but the foundation really was the star of the show! She looked flawless! I decided to recreate the look on myself with the same foundation, and this is how it turned out.  Wedding look I did re-created with Shiseido Future Solution LX Total Radiance Foundation Too bad the skin on my chest didn't look as perfect. It is a natural finish, but I did set it with the Laura Mercier Foundation Powder to give it a little bit more matte finish, and I ALWAYS use the Shiseido Perfect Foundation Brush with ANY liquid foundation for fuller coverage and the perfect consistency (It won the Allure Best of Beauty Award in 2014 for Best Foundation Brush). Now that I have talked about the upsides, here are a few downsides: It comes in a beautiful twist top jar. There is a spatula included, but who wants to use a spatula everyday? I turn it upside down, and let some of the foundation go onto the bottom of the lid. I use that to dip my brush in. 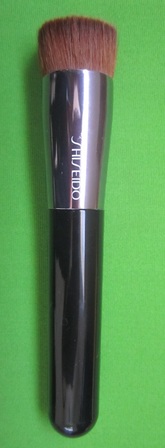 Shiseido Perfect Foundation Brush 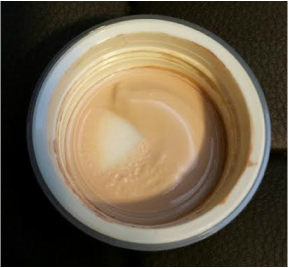 I will use the bottom of the lid to dip my brush in The other thing that is a downside is the price. I told myself I could never spend that for a foundation, until I got more compliments than I knew how to handle over my foundation. It is a cool $85.00 and comes in 11 shades.
The other downside, is that only a very few select department stores carry it. I am wearing the O20 shade. The easiest way to find the right shade is to go to Nordstrom.com and find the product and click the "ask a question" button under the foundation. You can let them know your shade in a different foundation, and they can tell you what shade would work best. A pain though, right? I know, but it is worth it. I love it so much! Where To Buy Products Mentioned: Click on link Shiseido Future Solution LX Total Radiance Foundation $85 Shiseido Perfect Foundation Brush $30 Laura Mercier Foundation Powder $46 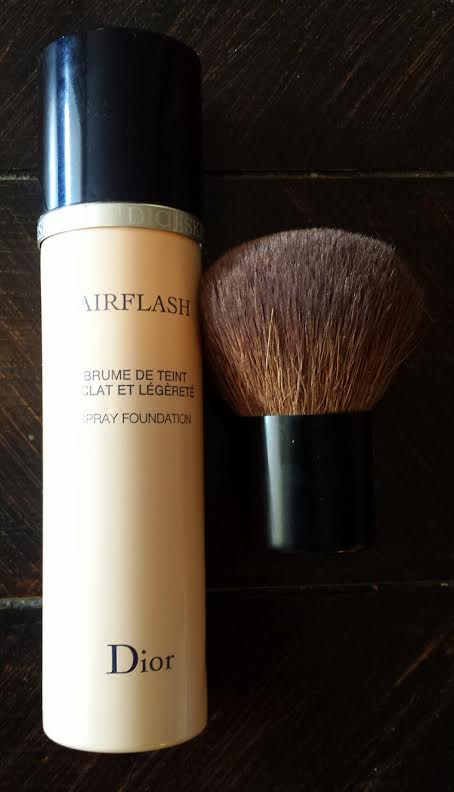 What a crazy concept?!? Foundation in a spray can. Is it worth the $62 for a can of this unconventional foundation? Too many of my customers avoided this since it was a new and scary form of foundation (I worked in cosmetics at Nordstrom for a year). Dior Airflash is a spray can medium-full foundation with a fine spray nozzle that shoots out a fine spray of foundation. The concept is just the same as a can of spray paint. You have to shake it first to emulsify the ingredients so they will come out even. It even sounds just like a can of spray paint when it's shaken due to the metal balls inside that helps to mix it all together. You can either spray it directly on your face, or use a brush. I don't know who you are out there that is talented enough to spray it directly on your face. A fellow co-worker of mine didn't know how to apply this to a customer that asked her and she just started spraying. Afterwards, the customer took the next 10-15 minutes taking the foundation out of her ears, eyebrows, nose, eyelashes, eyes, etc..... A large rounded kabuki brush is the best way to apply this in my own experience trying it out in several different ways with different brushes. My favorite brush to use is the brush pictured with the Airflash. It is the Chanel Touch-Up Brush and it applies it evenly and beautifully. You also use a lot less product with a brush. 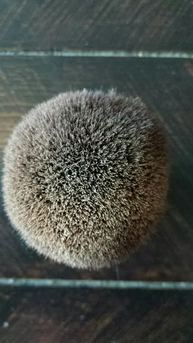 The best way that I have found to use this is to shake the can a few times before each spray. I will hold my brush out about a foot away from me and spray the can in even thin stripes side-to-side (just like spray paint) across the brush about an inch away from the brush head (this helps not waste product). I do a really thin layer so I can ensure an even finish. Repeat as necessary. If you need more coverage then you can add another layer on top of your first finished layer on your face. I use circular motions and blend out as far as you need all over your face. It's actually a very very quick and simple foundation to use. You get a very even airbrushed look every time. Using this product everyday will last you a good 3 months of use or so. I have had mine for a few years since I only use it for special occasions. Dior Airflash foundation is so great for pictures! It is pretty water-resistant and does well in warm or humid situations. Many brides-to-be would come in and purchase this for their bridals and wedding because you truly get a beautiful skin finish for pictures or special occasions. A lot of TV News Anchors actually use this for a perfect complexion on camera. I touched up several News Anchors that would come in requesting one before they went on air. 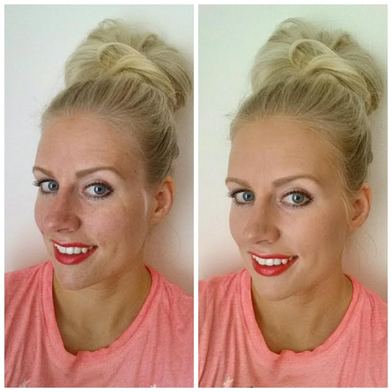 Before and After Airflash BUT...... There are always downsides to wonderful products.........I applied this foundation to many customers, and a bit of prep depending on the problem needs to be addressed before this foundation is applied:
The color guide can also be confusing, so I will shed some light on that;The shades go from light to dark. 10 is the lightest and 60 is the darkest. Any color ending in a "0" means it is neutral (pink and yellow tones), colors ending in a "1" means yellow tones (warm), and colors ending in a "2" means pink shades (cool).I am currently wearing shade 300 since I have a little bit more color from my self-tanner. All-in-all this foundation is perfect for hiding my sunspots, freckles and redness. I love the way I look wearing it and it is the quickest way to apply foundation. It is a must-have for pictures or just to have even perfect looking skin. ***I purchased this product myself. I am not endorsed, nor do I get paid by Dior or affiliates. The opinions expressed are my own experience with the product*** 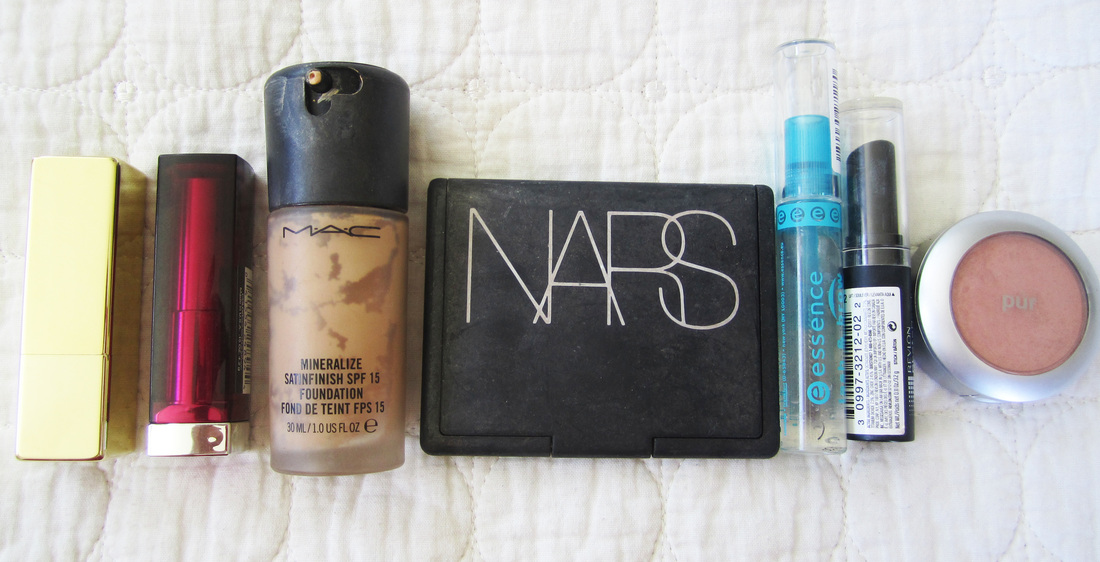 You never know how a piece of makeup is going to look until you get it home and try it on. There are always going to be those pieces where you regret buying them. Certain things don't always work for everyone's skin type, color or preference. While these may work for others, they certainly didn't work for me!!! 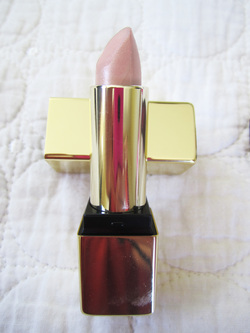 Sunday Riley Modern Lip Color in French Nude 108 The color is gorgeous! The packaging is high-quality. Really nice and solid. The problem with this lipstick is the texture. I felt as though I was trying to apply dried up wall spackle to my lips. You have to push really hard to get anything to transfer to your lips, and the formula was soooo DRY! No moisture at all! Because of that, the color hardly shows up. It was almost a chalky texture. This lip color was a total bummer for me since it costs just as much as a Giorgio Armani lipstick (which I LOVE). I tried it, and decided to give it another go..... it did not change my mind. Super disappointing since this lipstick cost $32!!! 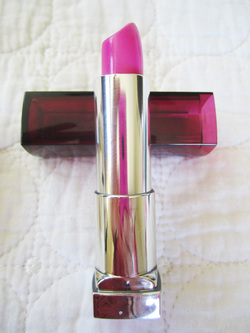 Maybelline Colorsensational Lipstick in Fuschia Fever 140 I decided to go out of my box, and try a really fun and bright lip color. I have seen other bloggers with my same skin tone and hair color use a really bright shade such as this one. The color has way too many blue tones in it to look good on me. The color is way too much of a contrast on my fair skin tone, and platinum blonde hair. I felt as though I had stepped into the eighties full of big frizzy hair and neon. It did not help that my parents saw me and told me that it had looked like I had just stepped out of the circus. Yeah, not good. Makeup sure is a trial and error. Good thing this was only a few dollars. Maybe I will save it for costume makeup..... 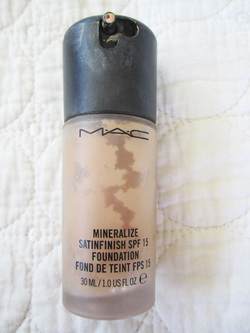 M.A.C. Mineralize Satinfinish SPF 15 Foundation 30ml This was the foundation I owned before I got really into learning all about makeup. I just figured all foundation was equal, and since mineral makeup was good, I just bought it. As you can see in the picture, the formula separates dry pieces. That is about how it is on the skin. The formula is very dry and once again, like the Sunday Riley lipstick, you are basically just applying spackle. It is actually probably a really good foundation for people with super oily skin, but I have combination skin that is more dry than oily, so it just caked on the dry parts of my face. It has been discontinued through MAC and they have come out with a new formula into a mineralize foundation compact for $33. I will continue buying my Makeup Forever HD Foundation since I know and love the formula. 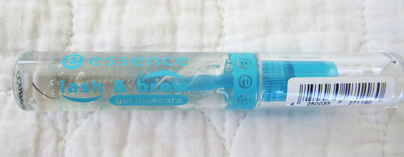 Essence Lash & Brow Gel Mascara This has a dual purpose. One purpose works great and one doesn't. It is great as a lash gel, especially for people with eyelash extensions, because it is water-based, and holds in those pesky strays all day. It also extends the life of your extensions by at least 2 weeks longer than usual. The bad side is for use as a brow gel. Once I stopped getting extensions, I decided to use it as a brow gel ( I would never use it for both at the same time for hygienic purposes) but it just feels like you stuck water on your eyebrows. It just sits on them in super wet clumps and does nothing to shape your eyebrows. At $2.99 it served it's purpose for eyelashes. 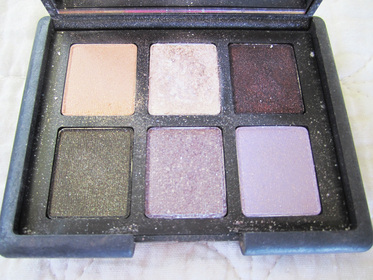 NARS Night Series Eyeshadow Palette The colors are so pretty and look like they would be fantastic. NARS is usually one of my favorites when it comes to cosmetics. This palette failed miserably. The two middle colors are like big sparkly flakes that do not transfer to your brush to apply at all! I had to dig my brush in hard, and it still did not coat my brush. I tried the really pretty burgundy color in the top right corner, and it just looks black on the skin. No red tones whatsoever. The green in the bottom left corner also show up more charcoal than green. I dislike this palette the most out of any other ones I have owned. I believe I bought this at a super bargain. I don't remember how much, but definitely will NOT be buying this again! 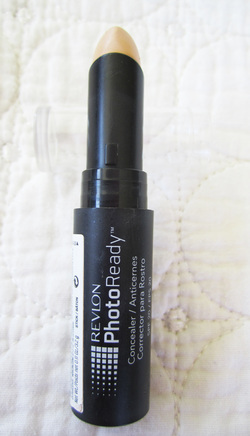 Revlon PhotoReady Concealer Stick in Pale 002 I bought this to use as an under-eye and nose highlighter, and as a concealer for my neck and chest (since they tend to naturally be lighter than my face and the rest of my body for some reason). The color is nice. Kind of sheer and not full-coverage like I think it is supposed to be. After a little while, the formula gets stuck in the wrinkles under my eyes, the pores on my upper cheeks, and the bumps on my nose. It is not an attractive look at all! I have tried it several times hoping that I can make it work, and it never will. I can say that I almost hate this product. I hear the foundation is pretty good, but I definitely will not be purchasing this concealer again, and it was a bit expensive for drugstore concealer if I remember correctly. 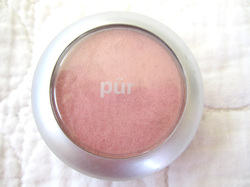 Pür Minerals Blush in Roselite 0.14oz I had purchased this blush when I decided I was going to start applying and learning the art of makeup. I had purchased the 4-in-1 compact, and LOVED the way it made my face look, so I got the blush and bronzer. The bronzer is ok. Not the best, but not the worst. The blush comes in a pretty small compact. The color is a really pretty soft pink tone. The color is pretty sheer, but still gives a really minimal pretty look. The main problem with this blush is the smell!!! It started not too long after I purchased it. I researched it, and it wasn't just mine. It was a huge complaint of this blush! It's a super strong moldy rotting makeup talc smell. I used a brush I didn't care about, because it made the brush smell rancid. I could smell it during and after application. It's not a smell you want to have on you and in your brushes. I thought I could handle it, but I just can't because of how strong the smell is. It is a shame since this little tiny compact cost a huge $16! So there you have it! Hopefully this will help if you are thinking of purchasing any of these products, so you can make an informed decision. Like I said before, some of these might work for you, but I just listed the reasons why they didn't work for me.
The next post like this (I am not sure when I will do it) will involve hair products I regret buying........ Let me know if you have any suggestions for posts for me. I am going to be doing tutorials in the future sometime, but suggestions or ideas for posts are always fun to get. Besides getting a long-lasting foundation, there are a few things you can do to keep your foundation lasting longer than it usually would. I do this in a two-step process. 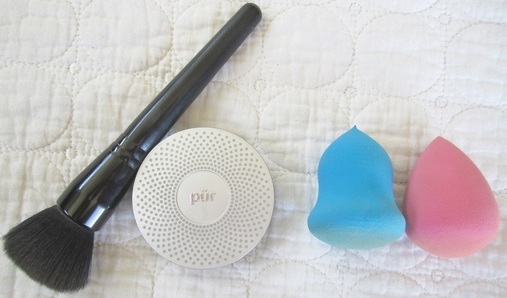 STEP 1: The first thing to use after you have applied your foundation and concealers is a finishing powder. This can be just a regular face powder; other names for this is setting powder and finishing powder, or translucent powder. I typically stay away from a translucent powder, because although it says it is translucent, the powder is a chalky white color which washes me out, and settles into my pores in the oily part of my combination skin, and it looks like I have some horrible spotted skin prolem. I am constantly checking my skin so that I can rub the powder back in when it starts settling. That does not make for a fun day. The foundation I typically use (Make-Up Forever in shade N120) is a bit lighter than the rest of my body, so I typically choose a powder that is slightly tan to use as my finishing powder.
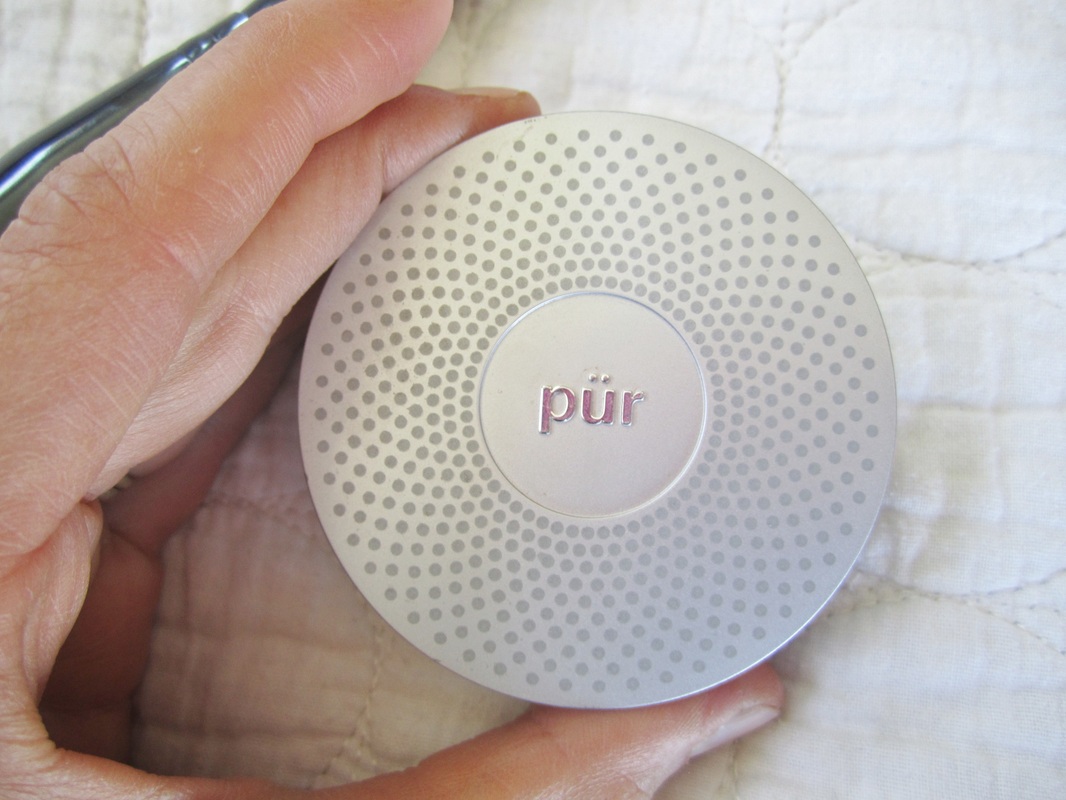
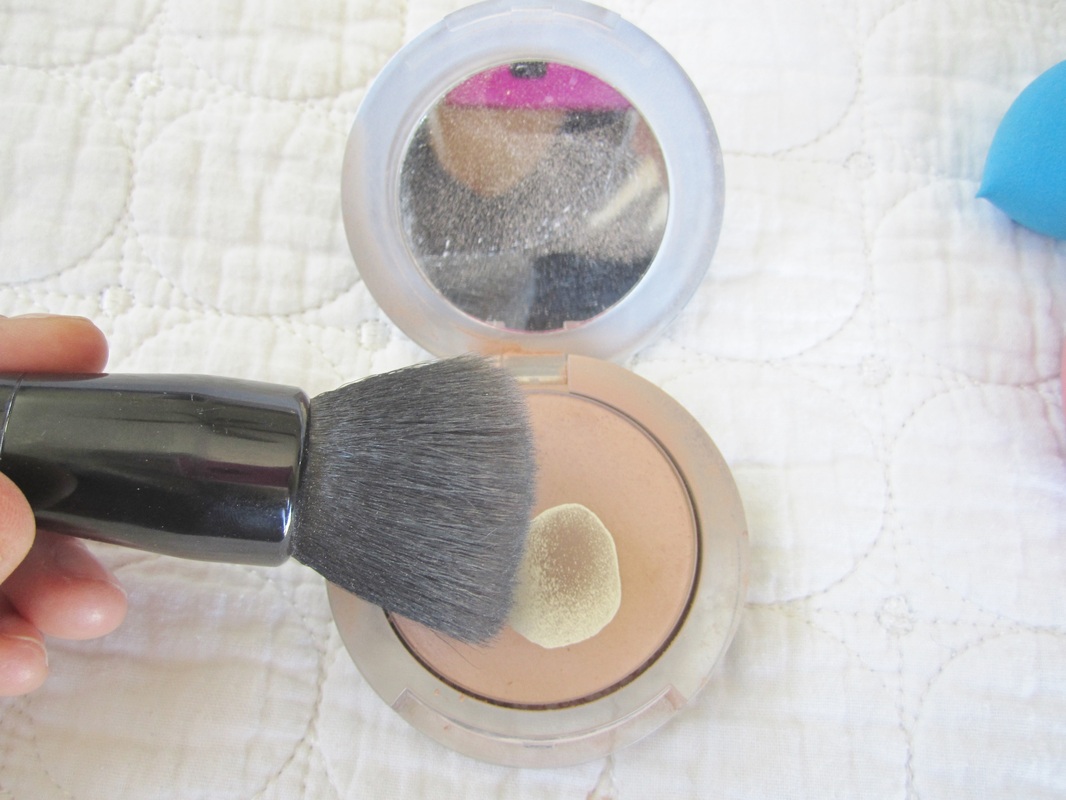
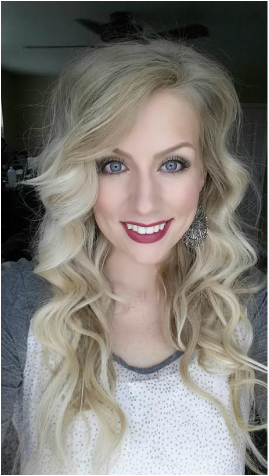
I use a colored mineral powder foundation (Pür Minerals 4-in-1 Pressed Powder in Blush Medium), but I apply very little, just enough to cover my face. I apply very sparingly under my eyes so that the powder does not get cakey and showcase my under-eye wrinkles. I apply my whole face using the E.L.F. Powder Brush using large circular motions. What this does, is stick to your concealer and foundation and seal it all in. Like I have said before, I have combination skin, so I have really dry areas of my face that gets a bit powdery, and other parts of my face is slightly oily and absorbs the powder. What I am trying to achieve is even looking skin with no cakey powdery spots. Here is where the next step perfects everything..... STEP 2: I have two small beauty blending sponges. I am showing both, but I alternate each day between them for cleaning purposes. One is not better than the other. They both work the exact same. 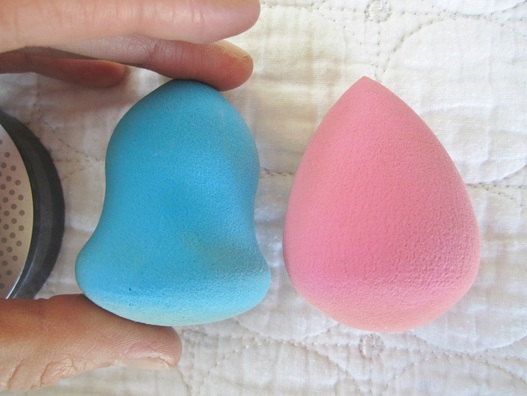 The blue one is a bell shaped brush that has a flat end on one side, and a pointed end at the other with a small indent around the middle. The pink one is a teardrop shape sponge. They are essentially the same thing as the Beauty Blender® just with a different name, and a oodles cheaper. This is the last step for foundation application. This step is the perfecting portion, and the beauty sponge helps prolong your foundation even further. You wet the sponge, and slightly squeeze the excess water out, until it is pretty damp still, and use the sponge to dab and roll all over my face. I like to dab around my eyes (with the pointed end), in-between my eyebrows and underneath my jaw line (with the large end), but I will roll it on it's side everywhere else on my face. The sponge adds a little bit of moisture, melting the powder and foundation together for a really even application, and takes away that powdery look from the finishing powder. I apply my bronzer, blush and highlighter after (Just my preference), but you can apply all of that before you use the sponge. You can even use this little sponge to apply your foundation directly to your face. You can dab it on with the large end and blend it, or you can dab it on, and use a stippling brush (MAC 130) to blend it in. Cleaning it is easy. Just use a little bit of antibacterial soap and squeeze it in the sponge, and run it under water continually squeezing until the water runs clear and lay on a terry towel to air dry. 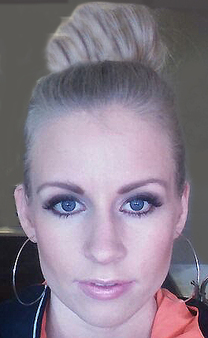 Flawless finish after using the finishing powder and beauty sponge Items Shown: E.L.F. Powder Brush $3. You can purchase this at Walgreens, Target, KMart, etc.... Pür Minerals 4-in-1 Powder $27 Free Shipping. Purchase HERE Winstonia Beauty Sponge in blue $6.25 Free Shipping. Purchase HERE *** I am not affiliated in any way with other people mentioned or products
mentioned. This is my own personal review on this purchased item*** DON'T FORGET TO ENTER THE MILANI EYE LINER SET GIVEAWAY!!! HOW TO ENTER: Click on the link HERE, and like my Facebook page . Write MILANI GIVEAWAY under the comment section of the giveaway post in my feed Entries are open until June 4. Winner will be selected and announced on June 5, 2013! 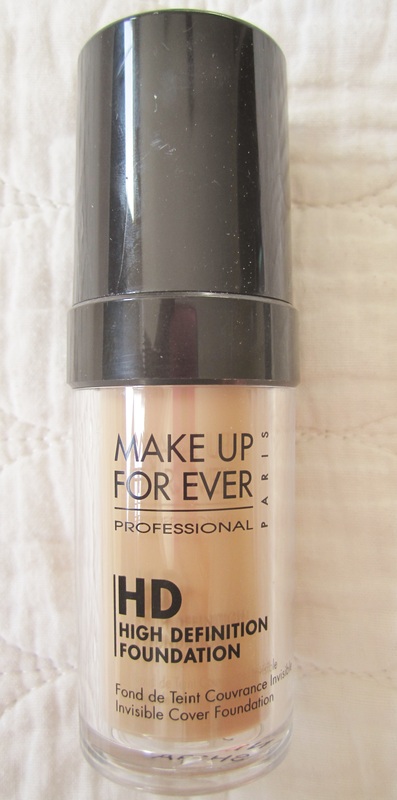 Make Up Forever HD Foundation in N120 1.01 oz This is the best foundation I have ever used hands down!!! I have owned MAC, Covergirl, Pur Minerals, Maybelline, Revlon foundations, and I have heard so many good things about the Make Up Forever HD foundation. It's a fairly new brand to the market, but there has been so much hype about this foundation and other products in the brand as well. I didn't want to try it because it is a little bit pricey, but I was not happy with my current MAC Mineralize foundation that was not supposed to clog pores, but every time I wore it, a new zit would appear. The MAC foundation was a little dewy, which is not my favorite look. Completely matte is not my favorite look either. Somewhere in the middle is what I prefer. I decided to give the Make Up Forever foundation a go. I usually wear the shade NC20 in MAC, and N120 is the equivalent to that shade. Fair-skinned color with slight yellow undertones. The formula is not as thick as some other formulas, but that helps to create a smooth coverage. A little bit goes a long way, and you can build the coverage as much as you would like. If you don't like full coverage, you can just smooth on a little, or you can smooth on a lot for full coverage. It creates such a flawless look that is amazing! My current foundation routine: I always put a primer on my skin before I apply foundation, than I pump about 4 full pumps on the back of my hand and use a MAC 130 stippling brush to dip in the foundation and do small circles on my face starting underneath my eyes and working around my face clockwise. * For a full-coverage look, I will pump 4 or 5 full pumps on the back of my hand and use my finger to dot the foundation spaced very close together in an area of my face and than work the brush in * I always work it into my neck and a little on my chest, because I don't have an evenly colored chest. Once the foundation is applied I will put a concealer on under my eyes and other problem areas. From there I will put a finishing powder on for staying power. My husband always mentions how pretty my skin looks with this foundation. It is an in-between to a matte and dewy look, and I would highly recommend it to anyone! Make Up Forever has a start-up kit that comes with the foundation. a really nice brush (really good reviews on it, I don't have it yet), finishing powder and primer all-in-one which is really the best deal! I wanted to try the foundation first to see if I liked it before I got the kit, but next time, I am getting the kit for sure! 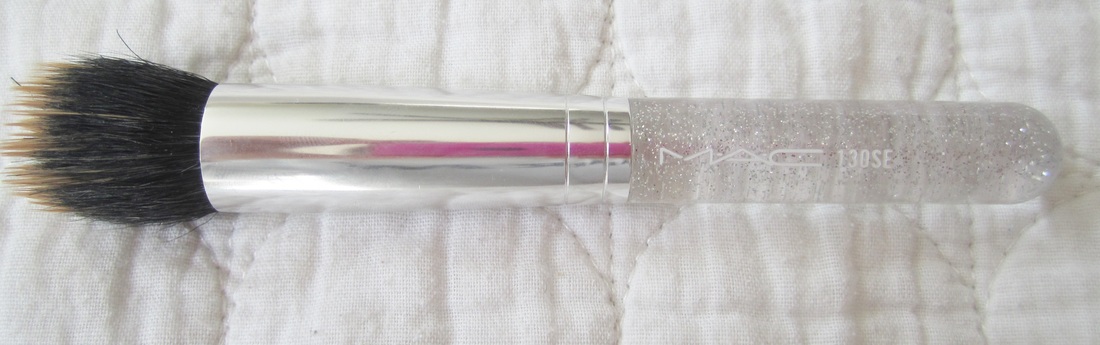 MAC 130SE Brush. This was from a holiday collection, but you can get the regular 130 brush still. 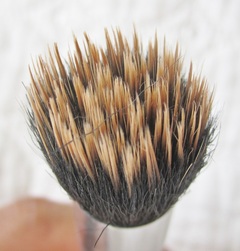 My Rating on Make Up Forever HD Foundation: A+ My Rating on MAC 130 brush: A- (It tends to shed a bit) You can purchase the foundation HERE for $42.00 OR the start up kit with primer, foundation, brush, finishing powder (BEST DEAL) for $79 with free shipping HERE (Normally a $115 value) You can purchase the MAC 130 brush HERE for $42 with free shipping *** I am not affiliated in any way with other people mentioned or products
mentioned. This is my own personal review on this purchased item*** |
|

 RSS Feed
