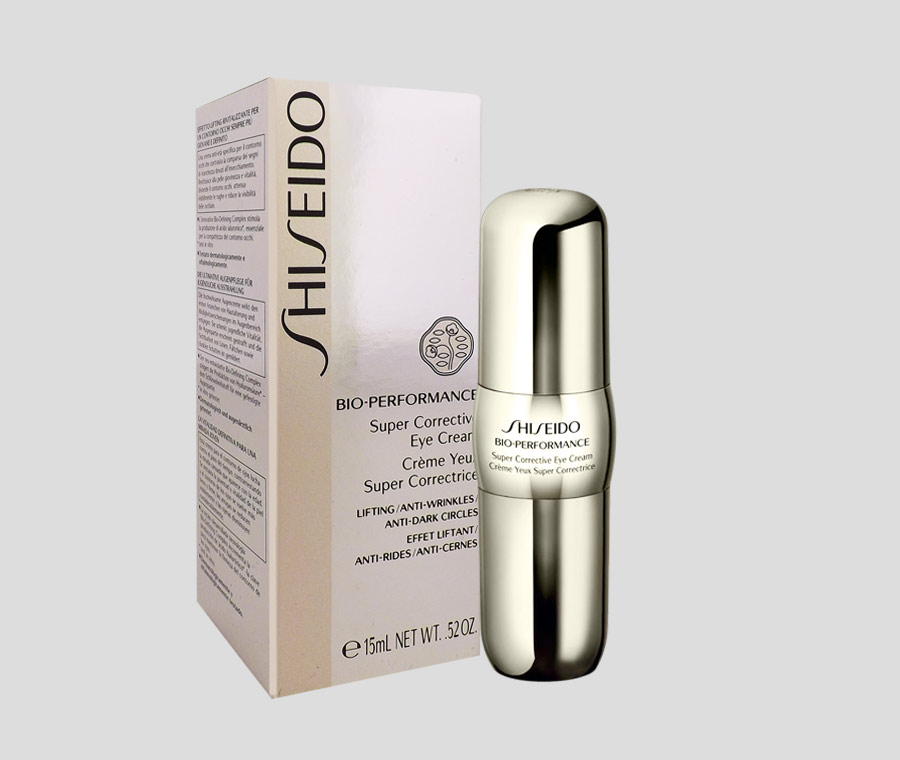
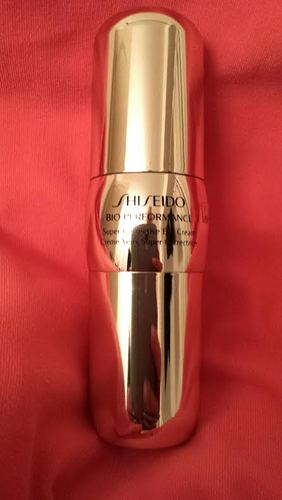
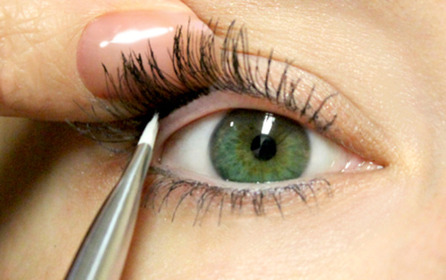
  Eye cream should be as important as brushing your teeth at night. Eyes are where wrinkles like to congregate and will make you look younger or older depending on how many wrinkles you have. Why are so many people oblivious to using an eye cream? I worked for Nordstrom for a year in makeup and skincare. I was the typical "You can just use makeup to cover bad skin" kind of girl not giving any thoughts about skincare. I educated myself in skincare, since I knew I would be selling it and I wanted to be able to answer every question. I tested it out and tried all sorts of regimens. I had people from my previous job see me at work and tell me that I looked so different and that maybe it was my skin? I realized then and there that skincare made a difference in the way I looked. I had never even used an exfoliant before. I didn't realize how dull and lifeless my skin was. It's amazing what radiant skin can do to a person's appearance. I would get so many questions about skincare, and if I didn't know, I would find out. I went home at night and studied studied studied and tested tested tested until I knew I could confidently answer every single question. I learned so much about ingredients, chemical compounds, techniques, etc..... Now, back to eye cream. I had always used just a basic moisturizer once-in-awhile when my face felt dry. I figured I could just use that same moisturizer around my eyes. I researched a lot of eye creams and the Shiseido Bio-Performance Super Corrective Eye Cream kept coming up in the list of best eye creams. I purchased it and love it so much! It is the perfect amount of moisture. Not too much and not too little. It smooths across the delicate skin under the eye so well without pulling the skin. Over a little period of time, I noticed that the lines starting to form around my eyes (I am almost 30) were minimized into almost nothing. I don't use this on my lid, because I have very sensitive eyes. Less then half a pump covers both of my eyes and the bottle has lasted months and months. I recommended this to my sister who had some pretty serious lines for only being in her mid-thirties, and 7 months later, the lines are minimized into almost nothing just like mine had. You can tell a difference almost immediately, but the long-term effects are what I was after. This eye cream has won several awards since it has come out, with the 2013 SELF Magazine Healthy Beauty Award for Best Eye Cream being the latest.I just love Shiseido products because they are one of the oldest skincare companies in the world. They started in the late 1800's and have been perfecting skin technologies ever since. It is no wonder they are such a powerhouse in the cosmetics industry; owning NARS, Cle De Peau and Bare Minerals (I learned this in my research). They have also found a new potent age-fighting ingredient called Mukarossi Extract (comes from a nut). Anything with the Camellia flower on the top of the lid has this ingredient (which this eye cream does  How to properly apply eye cream:
Pump cream onto ring finger With other ring finger, rub the cream in a circular motion to warm it up With one finger, dab the underneath of one eye from the inside to the outside gently Repeat with other finger on other eye Take both fingers and lightly keep dabbing (not rubbing as this can cause more wrinkles) from inside to outside until cream has spread and can absorb Don't forget the contour of the eye up to the outside corner of your eyebrow Where To Purchase: Shiseido Bio-Performance Super Corrective Eye Cream 0.5oz with Free Shipping ***I am not endorsed, nor get paid by Shiseido or any affiliates. The opinions expressed are my own***
1 Comment
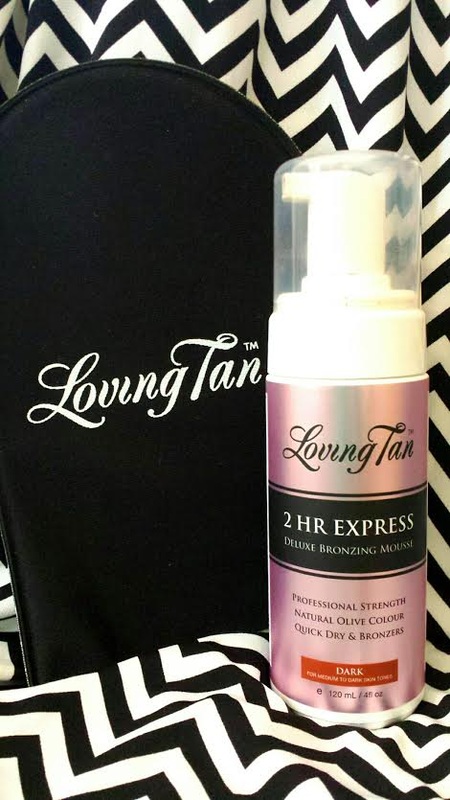 I follow a lot of fitness girls for inspiration and motivation on Instagram. Most of them are from Australia and promote a self-tanner called Loving Tan. I had never heard of it, but was so envious of their beautiful sun-kissed look. I have literally purchased most of the major self-tanners on the market just to have a beautiful tan for a day, just to completely wash it off and be pale the next. All of that hard work seemed to go down the drain literally. It is not easy maintaining a sun-kissed look without the sun. I refuse to keep cooking in the sun for a few reasons; sunspots all over, wrinkled skin when I get older, cancer, etc...... I finally ordered it when my favorite makeup YouTuber Lauren Curtis said that she had started using this self-tanner because it is so wonderful. Loving Tan is free of parabens, alcohol, no animal testing and is made with naturally derived ingredients. There is aloe vera in it to keep your skin hydrated (which most self-tanners dry out the skin). Every time I use a self-tanner, I am drenching myself in lotion. They also claim it is waterproof. 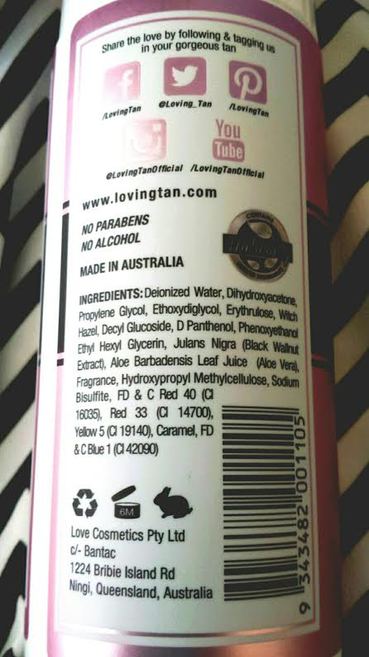 I didn't mind the price ($29.99-$34.99) + FREE SHIPPING!!!, the packaging is so cute and girly! I ordered the 2 Hr Express Mousse in Dark and the mitt. They have a really good medium shade, but I feel like I want to be really dark so it can wear off longer. When I went to the checkout, they had taken a percentage off of the cost and it brought it down a bit.
The 2 Hr Express formula is a mousse that goes on extremely dark, you leave it on for 2 or more hours and it can be washed off. I bought this particular formula because I hate leaving tanning lotion on all day. It is so sticky and gets all over my clothes and I feel like I can't do anything with it. I just wanted to have it on for a few hours, wash it off and move on with my day. The mitt comes in a little box and bag. It has the softest velvet material that surpasses any other tanning mitt I have ever owned. So great for blending! I always lotion up the areas that I don't want the color to stick to like my knees, elbows and around my ankles. I pumped just one pump of mousse onto the mitt and started with my legs. The color wasn't that dark when I first applied it, but as time went on it got darker and darker. The initial color is just the color guide color to show you where it was applied. Just one pump goes such a long way! It was blending nicely, but as I used it more and more, the color kept sticking to one area and I was having a really hard time blending it out. It is a quick drying formula and I am thinking that is why it kept gathering up in little areas. It took me quite some time (45 minutes) because I kept trying to blend and blend and it just wasn't working well for me at all. My husband did my back and had the same complaint. I felt as though he was going to literally give me burns on my back from trying to rub so hard to blend. I looked pretty ridiculous with so many streaks all over me. I left it on under 2 hours because I was ready to go to bed, so I took a shower to get all of the sticky feeling off. Almost all of the color came off and I had wondered if I had done all of that hard work for nothing. The next morning I woke up with a golden tan. It had developed overnight, and for not leaving it on the full 2 hours, it was pretty dark! Not as dark as when I had applied it, but still dark nonetheless. You can always layer it on as well to get even darker. That tanning smell was not strong at all, and only lasted a day. I also noticed that my skin was not completely bone dry all of the time. There was no change in my skin from usual and I loved that fact so much! I also noticed that all of the millions of streaks were not there. It was the most even tan I have ever gotten from any self-tanner. I know now not to spend all of my time trying to blend it out because it will be even when the tan develops after I wash it off. I also wanted to test out it's waterproof claims that they make on their website. I had a really hard workout and drenched myself in sweat. Most tans always bleed onto my clothes when I sweat and the tan comes off too quickly. I even wore a sweat waist belt to see how well the tan would stick. Whenever I use this belt after I have self-tanned, the tan literally sweats off in that area of my stomach. I was so shocked!!! It didn't even wear off onto my sports bra like they always do! The tan hardly budged from my stomach from the waist belt! I wore a white shirt, and no tan sweat on it at all! I was so impressed! The best part about this tanner, is that I applied it last Sunday, and I still see remnants of it. It has lasted longer than anything I have ever tried. I think the best one I used before lasted a good 2-3 days at most. That even includes St. Tropez. I was so impressed with it, I actually decided to spend another $20 of shipping and ordered 2 more bottles of different formulas (extra dark and dark). I will use this especially when I am going swimming or to the beach because it stays on so well. They even have a waterproof makeup to use for swimming that won't budge. You can see a lot of the before and after pictures from their website to get a good idea of the color. www.lovingtan.com ***I paid for these products myself and I am not paid or endorsed by Loving Tan. These are my own opinions and experiences using this product*** 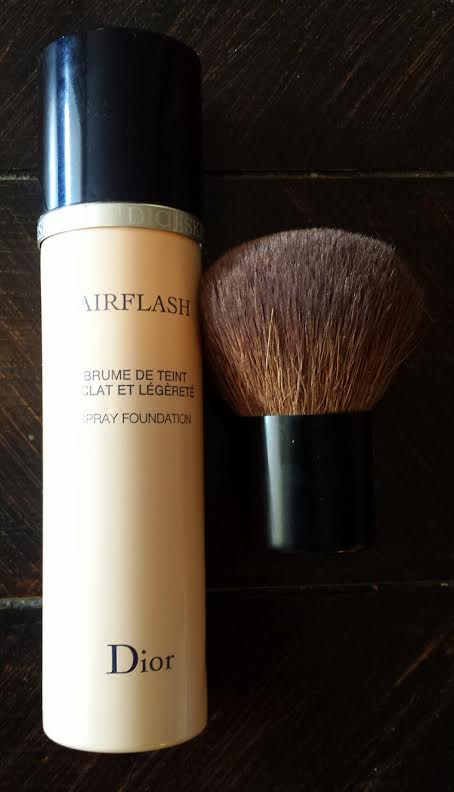 What a crazy concept?!? Foundation in a spray can. Is it worth the $62 for a can of this unconventional foundation? Too many of my customers avoided this since it was a new and scary form of foundation (I worked in cosmetics at Nordstrom for a year). Dior Airflash is a spray can medium-full foundation with a fine spray nozzle that shoots out a fine spray of foundation. The concept is just the same as a can of spray paint. You have to shake it first to emulsify the ingredients so they will come out even. It even sounds just like a can of spray paint when it's shaken due to the metal balls inside that helps to mix it all together. You can either spray it directly on your face, or use a brush. I don't know who you are out there that is talented enough to spray it directly on your face. A fellow co-worker of mine didn't know how to apply this to a customer that asked her and she just started spraying. Afterwards, the customer took the next 10-15 minutes taking the foundation out of her ears, eyebrows, nose, eyelashes, eyes, etc..... A large rounded kabuki brush is the best way to apply this in my own experience trying it out in several different ways with different brushes. My favorite brush to use is the brush pictured with the Airflash. It is the Chanel Touch-Up Brush and it applies it evenly and beautifully. You also use a lot less product with a brush. 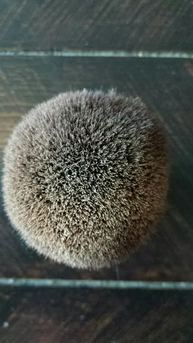 The best way that I have found to use this is to shake the can a few times before each spray. I will hold my brush out about a foot away from me and spray the can in even thin stripes side-to-side (just like spray paint) across the brush about an inch away from the brush head (this helps not waste product). I do a really thin layer so I can ensure an even finish. Repeat as necessary. If you need more coverage then you can add another layer on top of your first finished layer on your face. I use circular motions and blend out as far as you need all over your face. It's actually a very very quick and simple foundation to use. You get a very even airbrushed look every time. Using this product everyday will last you a good 3 months of use or so. I have had mine for a few years since I only use it for special occasions. Dior Airflash foundation is so great for pictures! It is pretty water-resistant and does well in warm or humid situations. Many brides-to-be would come in and purchase this for their bridals and wedding because you truly get a beautiful skin finish for pictures or special occasions. A lot of TV News Anchors actually use this for a perfect complexion on camera. I touched up several News Anchors that would come in requesting one before they went on air. 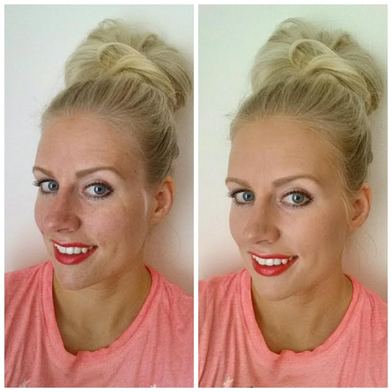 Before and After Airflash BUT...... There are always downsides to wonderful products.........I applied this foundation to many customers, and a bit of prep depending on the problem needs to be addressed before this foundation is applied:
The color guide can also be confusing, so I will shed some light on that;The shades go from light to dark. 10 is the lightest and 60 is the darkest. Any color ending in a "0" means it is neutral (pink and yellow tones), colors ending in a "1" means yellow tones (warm), and colors ending in a "2" means pink shades (cool).I am currently wearing shade 300 since I have a little bit more color from my self-tanner. All-in-all this foundation is perfect for hiding my sunspots, freckles and redness. I love the way I look wearing it and it is the quickest way to apply foundation. It is a must-have for pictures or just to have even perfect looking skin. ***I purchased this product myself. I am not endorsed, nor do I get paid by Dior or affiliates. The opinions expressed are my own experience with the product***
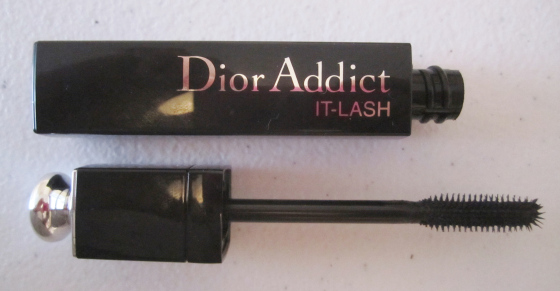
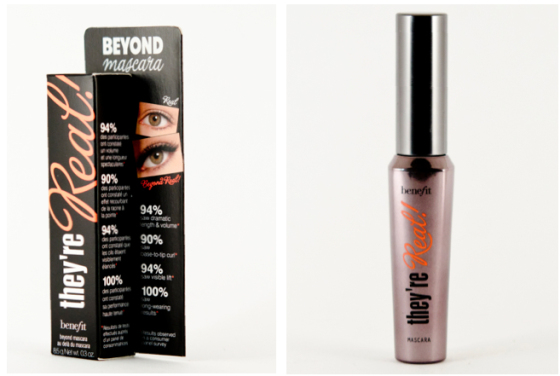
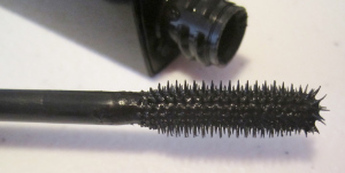
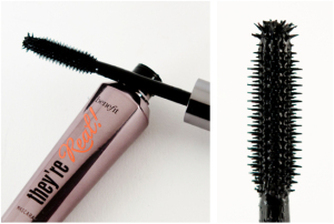
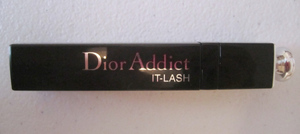 This mascara has been long anticipated for fans of the Dior mascaras (which are absolutely incredible might I add).Back in the day, I just used to use whatever mascara my Mother used. It was the Maybelline Great Lash Mascara in the neon green and pink tube. It seemed to work fine. I started to get into cosmetics a little bit more and wanted to explore the world of Department Store mascaras. I had heard so many good things about the Dior mascaras. I purchased the original Diorshow mascara, and mascara was never the same to me. The discovery of it was like learning a new trick or skill and being so excited about it. That was the feeling of using the Dior mascara for the first time. It was like a new discovery, or an AHA! moment when you feel like you discovered something new, and it was wonderful.After awhile, the newness fades and I couldn't justify spending the money for Dior mascara anymore and just figured that it was just like Drugstore, and asked myself as to why was I spending that much.Fast-forward to working in cosmetics, about a year ago. I decided to give Dior mascara a go again since I worked in the same bay as Dior. IT WAS LIKE DISCOVERING SOMETHING NEW AGAIN!No matter what new mascara I decide to try; whether Drugstore or Department Store; I usually always revert back to Dior mascaras.I purchased the Dior Addict IT-LASH mascara hoping it would be just as good as the other Dior mascaras. Plus, it came in fun colors besides black (pink, blue and purple). The Dior mascara is supposed to be comparable to the extremely popular Benefit They're Real Mascara (Which I have tried and liked quite a bit). The brushes are very similiar with a synthetic brush with a spikey ball at the end to grab the small lashes and coat them all with a slick black coat of mascara.
BUT!.........I used it and was not impressed. I was so disappointed since all of Dior's other mascaras (exception: New Look Mascara) are so great!The bristles of Dior's It-Lash just didn't grab my lashes the same as Benefit's They're Real did. You only have to do a few passes with Benefit's mascara to get a really thick and lengthening look, whereas, Dior's mascara barely puts on even a coat. I literally had to do at least 100 passes of Dior's mascara to even get it to look thick enough. So disappointing!!!I love the big bold look with mascara, but if you are looking more for a very very natural, almost nude eyelash look, than the Dior mascara is for you.I definitely think that Benefit has their formula so right! It is extremely thickening, lengthening and easy to get every single lash (especially with the little spiky ball at the end). Dior needs to go back to the drawing board and re-formulate.
Definite Winner: Benefit They're Real Mascara Where To Get: Benefit They're Real Mascara $24 Dior It-Lash Mascara $26 UPDATE!!!I decided to try the Dior It-Look Mascara again recently to see if my opinion had changed (sometimes they do) and sadly no. This is probably the only pricey mascara that I really don't mind giving away to one of my sisters and not care. It doesn't do anything for me and I will continue to love their older formulas (My favorites: Iconic Overcurl, Iconic, Blackout, Exstase, Diorshow) ***The opinions expressed in this review are completely individual and no exchange in monetary compensation was made*** 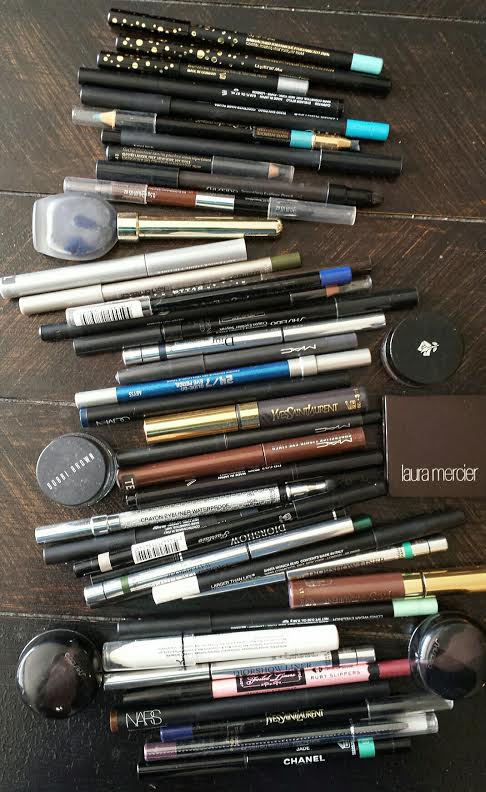
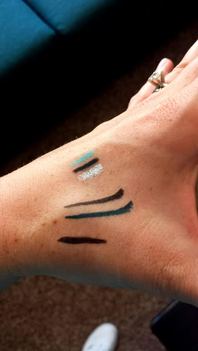
To say that I own a lot of eyeliners is definitely an understatement! It’s clearly an embarrassing amount that I collected before, during and after my job in cosmetics at Nordstrom.I feel like eyeliners for me, are like finding the perfect nude lipstick (which I own extreme amounts as well). I am always on the search for that perfect mix of ease, wearability, smoothness, pigment, etc…. It was not hard at all to know what my go-to products were for my favorite looks; everyday, winged and tightline. Also each one is a different formula; pencil, liquid and powder. Click on product name to purchase or just to check it out. Holy Grail Everyday Eyeliner 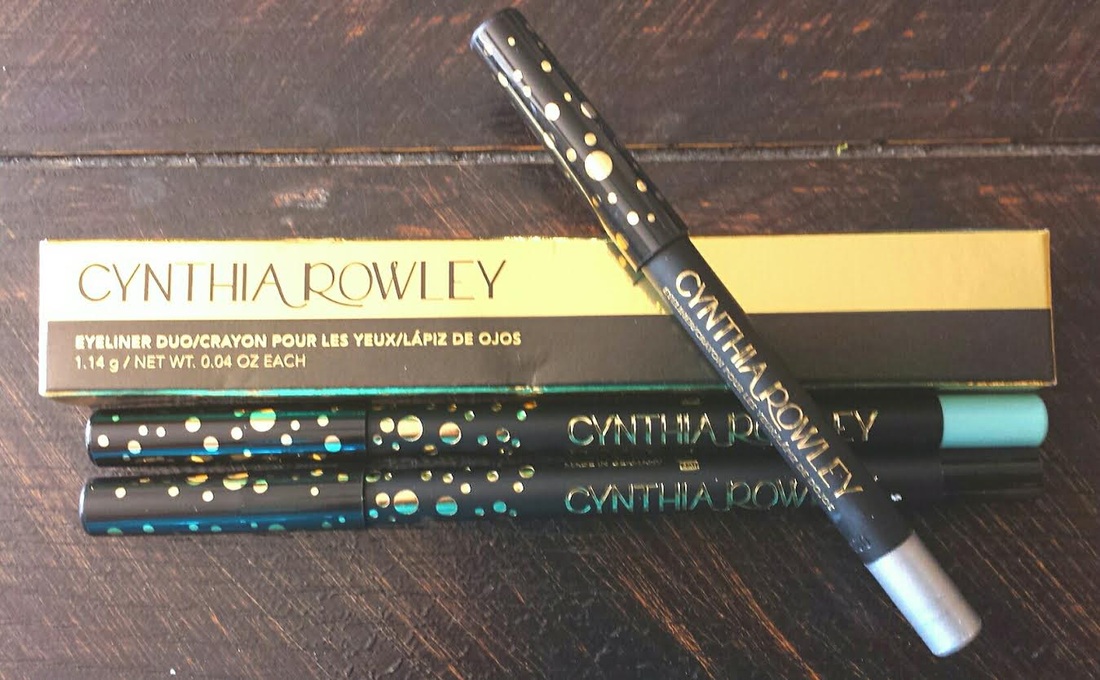
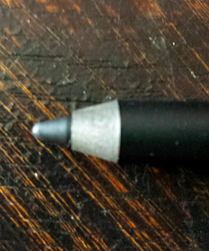
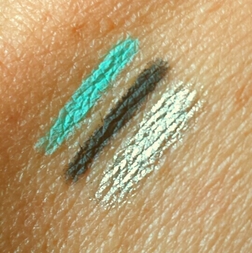
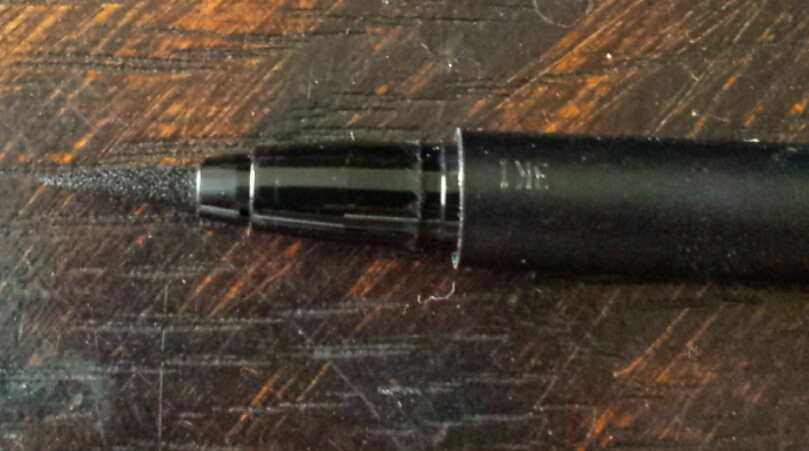
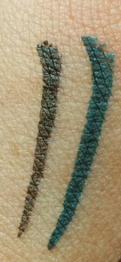
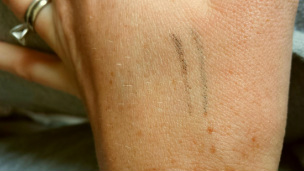
Cynthia Rowley Beauty Eyeliner PencilsThis eyeliner is a really creamy pencil formula. This eyeliner doesn’t budge once it sets in, and the ease of use is a definite winner in my book! I hate when I am looking in the mirror mid-day and it looks like I took makeup tips from a lady-of-the-night. I have oily eyelids and don’t need my eyeliner sliding around. It is smudge-proof, vegan, cruelty-free and paraben free. I received the silver pencil as a sample, and had to buy more. It is my ultimate favorite eyeliner pencil and I am not sure if anything else can top it. The longest lasting budge-free pencil I have ever used! They are also very inexpensive at $18 a pop, or $25 for a duo (better value) with free shipping. The silver is so gorgeous on the inner corner of the lids to brighten up and make eyes pop! Holy Grail Winged Eyeliner 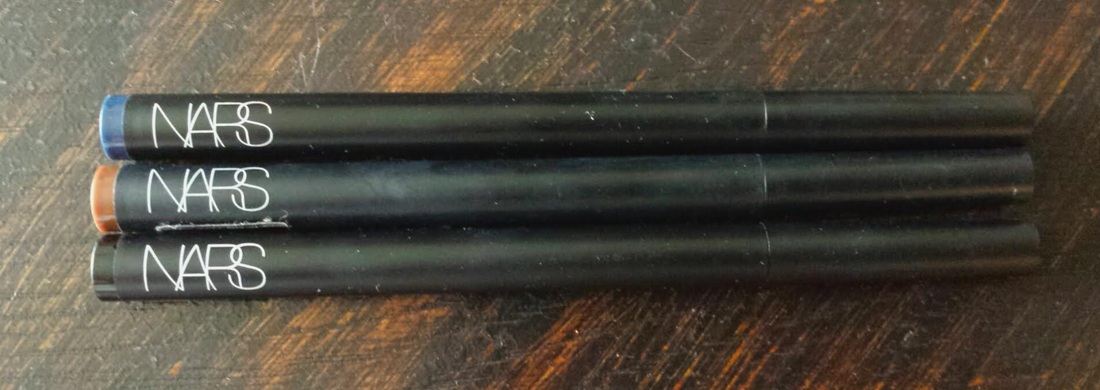
Nars Stylo Liquid EyelinerThis is the longest lasting of the bunch. You will get the best retro wing a girl could ask for with this extremely easy-to-use eyeliner. It has a fully saturated felt tip that stays nice and wet the entire ride along your lash line. Almost instantly dry formula delivers the best pigment. I am usually so bad at liquid, but the felt tip makes things so much easier. I lay it on the side and start on the inner corner of my lid and just let my eyelashes guide it along the lid to the outer corner. This eyeliner doesn’t dry out quickly like other eyeliners like it. I have had the brown one for over a year, and it is still very saturated. Definitely my favorite liquid eyeliner out there and so worth the $27. Holy Grail Tightline Eyeliner 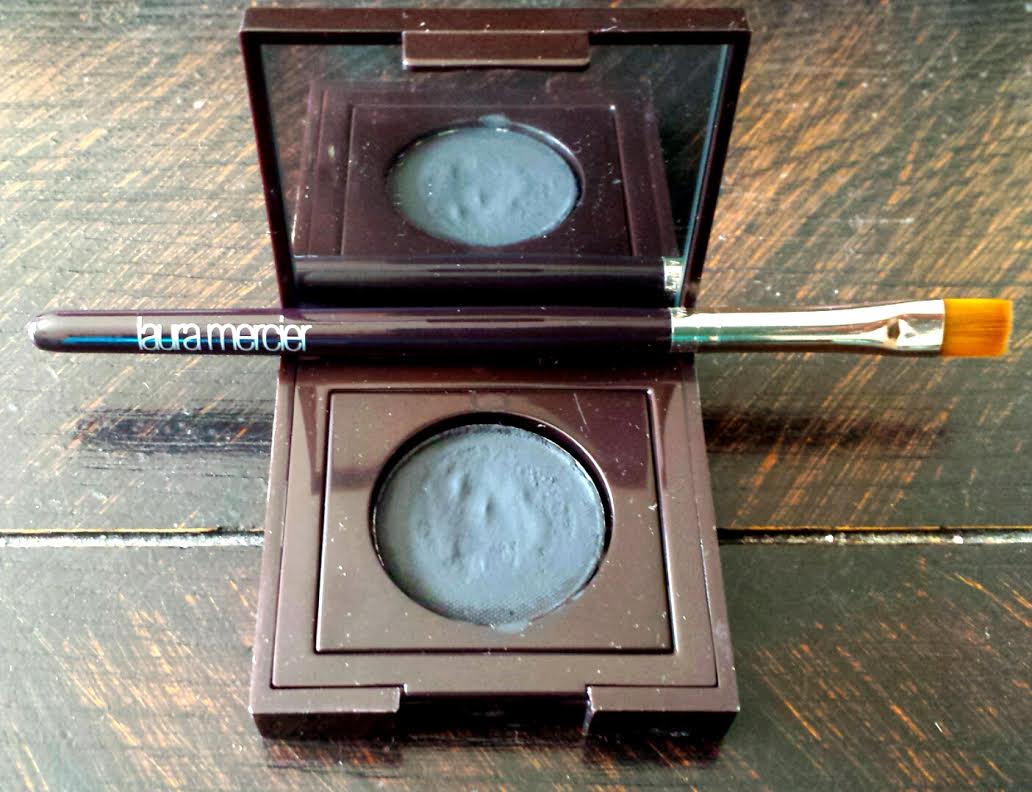
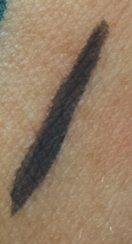
Laura Mercier Tightline CakesThis is the most natural eyeliner method out of the three. It also is a little different if you have never tightlined your lids before. Tightlining is when you actually put the product along the lash line on the underneath of your lashes instead of on top. You can see in the picture the method of slightly lifting the lid so you have more space to work with.You can use a pencil to tightline, but I love the cakes sooo much better because they are budge-proof and will stay put all day! They aren’t too bad priced at $24. I use the Laura Mercier Flat Eye-Liner Brush (Travel Size) to stick it on which is $25, but literally one of my favorite eyeliner looks. I will put the tip of the brush in water and get it pretty wet, then I will swirl it around on the cake itself until I know a good amount is on the brush. I don’t move the brush side-to-side like a pencil; instead you push it on in sections. I will push the product at the root of the lashes and move to the next section linking them together, etc….. It’s so natural and beautiful by itself. If you want more oomph to your lashes, you can line the top with a pencil to give even more dimension to your eyes. This method gives me the most compliments on my eyes and takes a little bit of getting used to, but it’s so beautiful!
***I am not paid, nor endorsed by any brand mentioned. All items were purchased on my own and opinions expressed are my own as well*** Hairspray..... A necessary evil right? I want my hair to feel as natural and healthy as it can, and sometimes hairspray likes to crash the party. My hair won't do all of those fun hairstyles I see on Pinterest without it.I know I say this in all of my product posts, but I am so serious when I say I "collect" beauty items. If you talk to my husband, he will call it hoarding, but I am definitely an organized hoarder if that's what you want to call it. I keep it all neat in a cabinet, and when I have found my favorite, I give it all away except for the one or two that I love. Hairspray is no exception in my arsenal of beauty products. I probably owned about 10 bottles at all times at one point. I have probably tried out about 50+ different hairsprays in my lifetime and have found favorites and my not-so-favorites. I would always go back to Big Sexy Hair Spray & Play Volumizing Hairspray every time but at a price point of $17.95 and up it gets a bit pricey and I felt like I was getting punched in the gut by 3 grown men every time I purchased it. 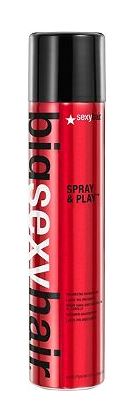
Nothing was ever as good, and I would crawl back every time until I found my new favorite that works the exact same at only $6, which is a third of the cost of Big Sexy Hair.Schwarzkopf got2b 2 Sexy Voluptuous Volume Hairspray $5.97 at Walmart 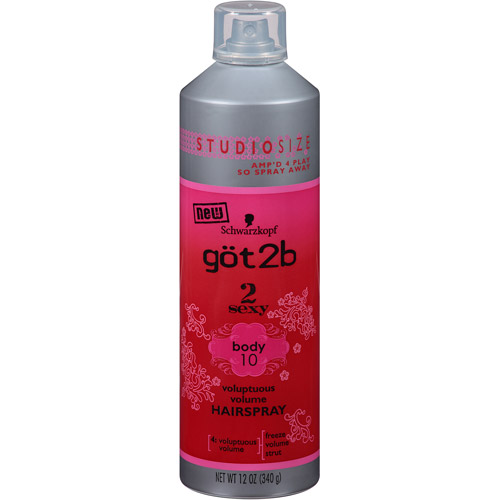
I use to use their Glued Blasting Freeze Spray in the yellow can: 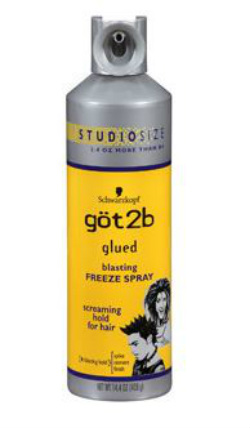
Although it was one of my favorites for a few years, the spray nozzle would always get jammed from the stickiness of the hairspray and it makes your hair crunchy. The yellow can definitely holds extreme hairstyles, such as the one I use to have in High School where it was the bigger, the better. 
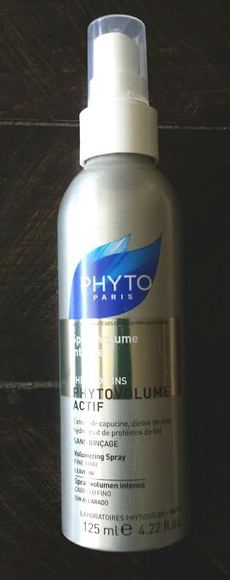
I know that most of us wish for that voluminous blowout look for our hair. There is a product that will give amazing volume without the stickiness and weighing down the hair. It’s the Phyto Paris Phytovolume Actif Spray. If you can’t tell by now, I am kind of a collector of beauty products. I like to find the best of each product and won’t stop buying them until I can find something that works great! Once I find that holy grail product, I tend to just give away the other items that I collected. At one time, I owned about 20 hair volume products, but none of them live up to their claims like Phyto does.What I like about Phyto is that they are a very natural product company using things like Nasturtium extract, silk derivative, hydrolyzed wheat amino acids. The Phytovolume says that it “lifts hair at the roots while amplifying the diameter of each strand to visibly impart body.” I would say that is exactly what it does.On towel-dried hair, I will lift up sections of hair and spray one spray several inches away at the base of the root all over my head. If I am wanting all over hair volume, I will continue to spray all of my hair like a wild person.I can sleep with it wet with Phyto in it and will wake up with a huge lion’s mane the next morning, but I feel that it looks the best when blow-dried. I flip my head over when I blow-dry my hair so my hair dries away from the base for more volume. I also like to use a big round brush to lift the roots for massive volume. 
My hair after using Phyto Actif Volume Spray
Most formulas I have used in the past are sticky and my hair gets really greasy very quickly. The Phytovolume Actif is the perfect weightless formula that I think I will continue to use for a very long time.Phyto has amazing hair products that I am very passionate about, and was able to convert a bunch of my friends because it is amazing product!
***I am not endorsed, nor do I get paid by Phyto or affiliates. I purchased this product on my own. The opinions expressed are my individual opinions*** |
|


 RSS Feed
